
01
The kitchen
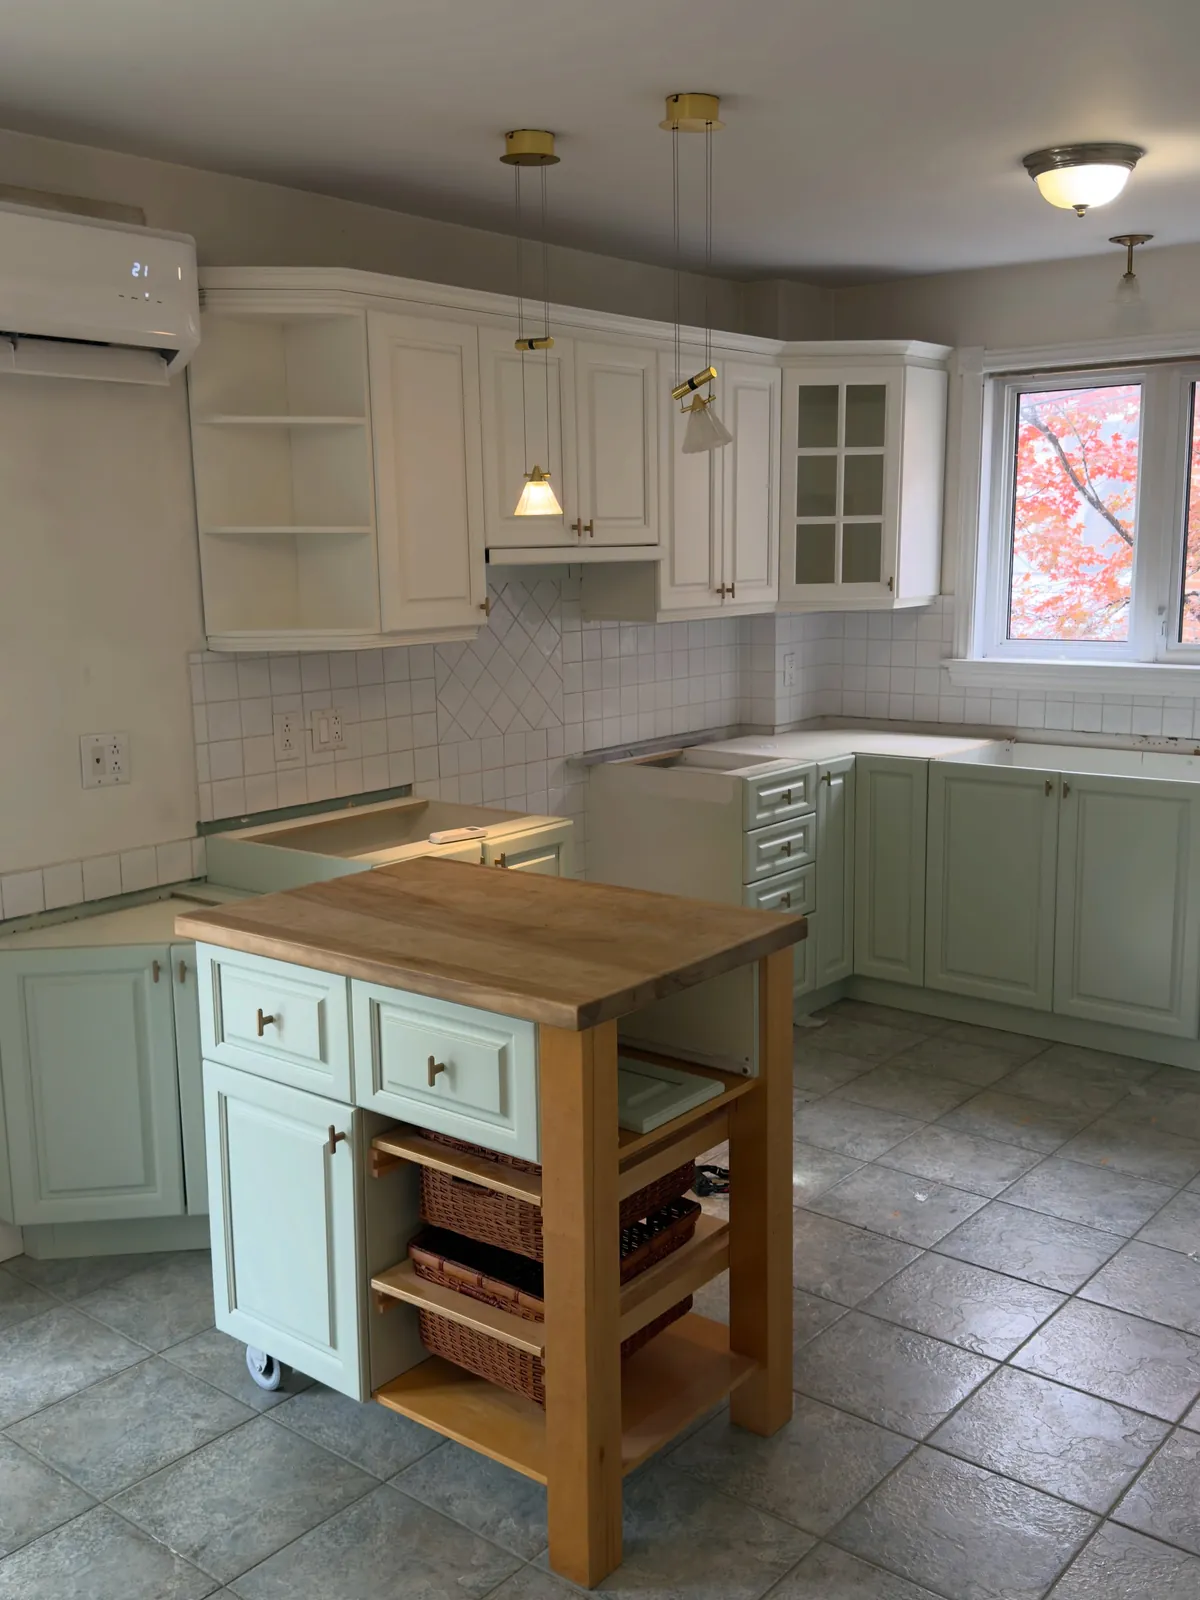
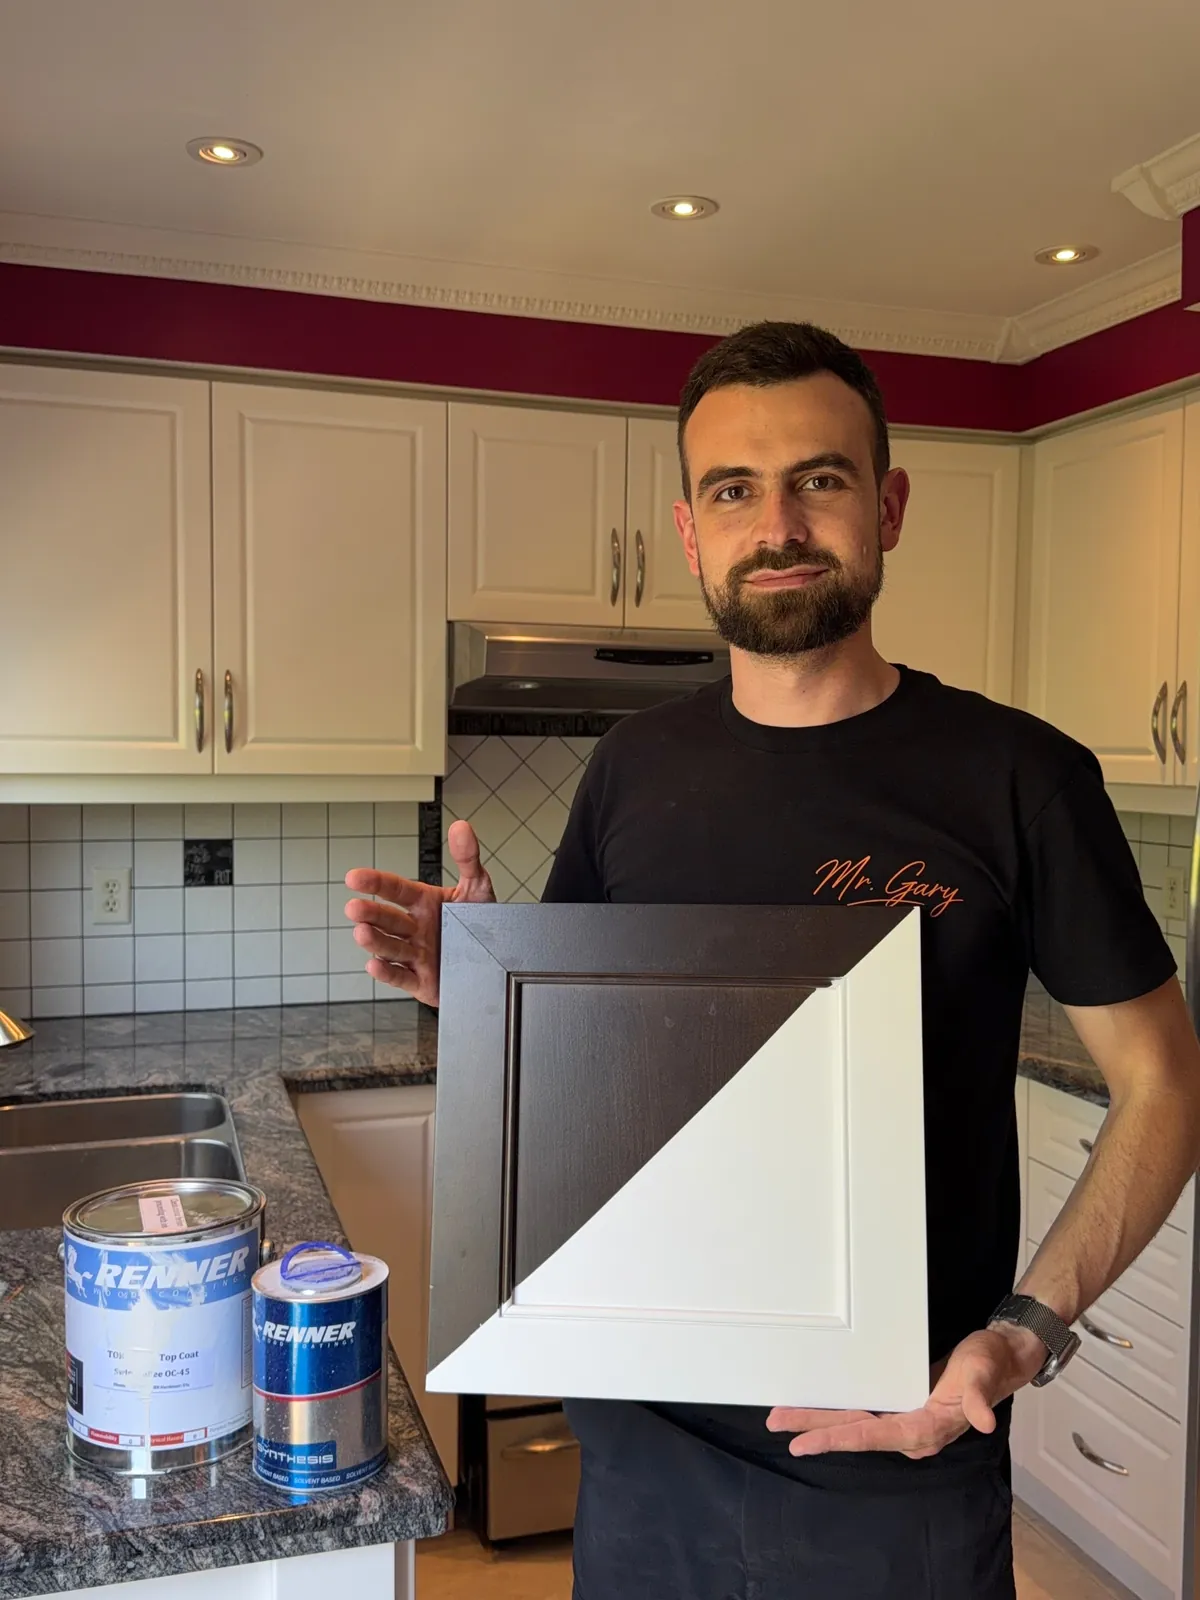
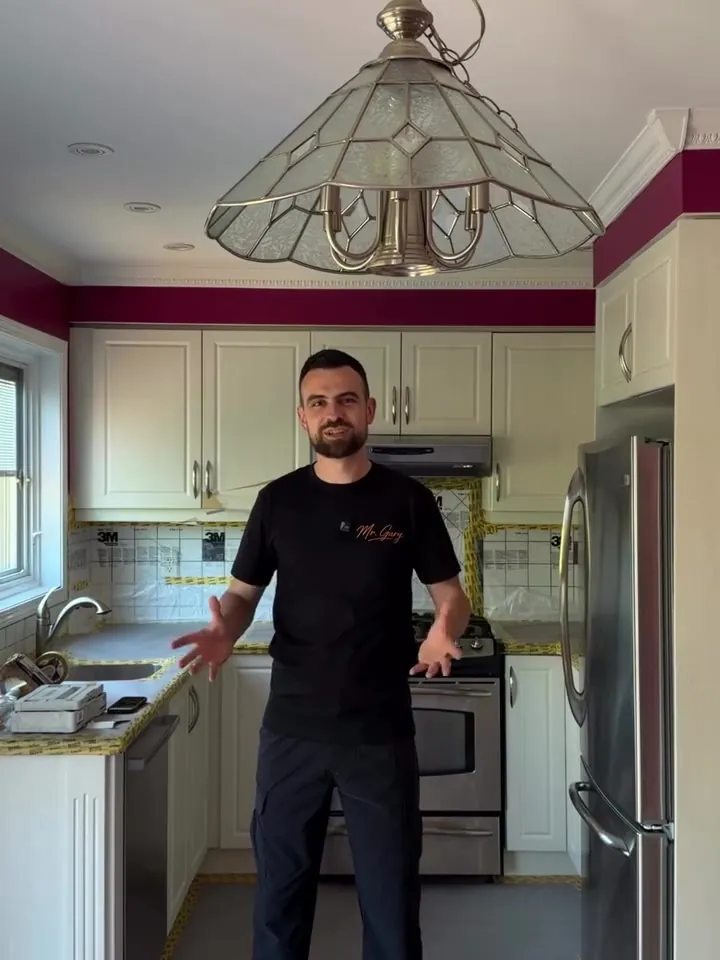
Cream MDF doors, burgundy walls and a stained-glass ceiling light. The boxes and the layout stayed as they were; the job was a new, even finish on every door and every box.
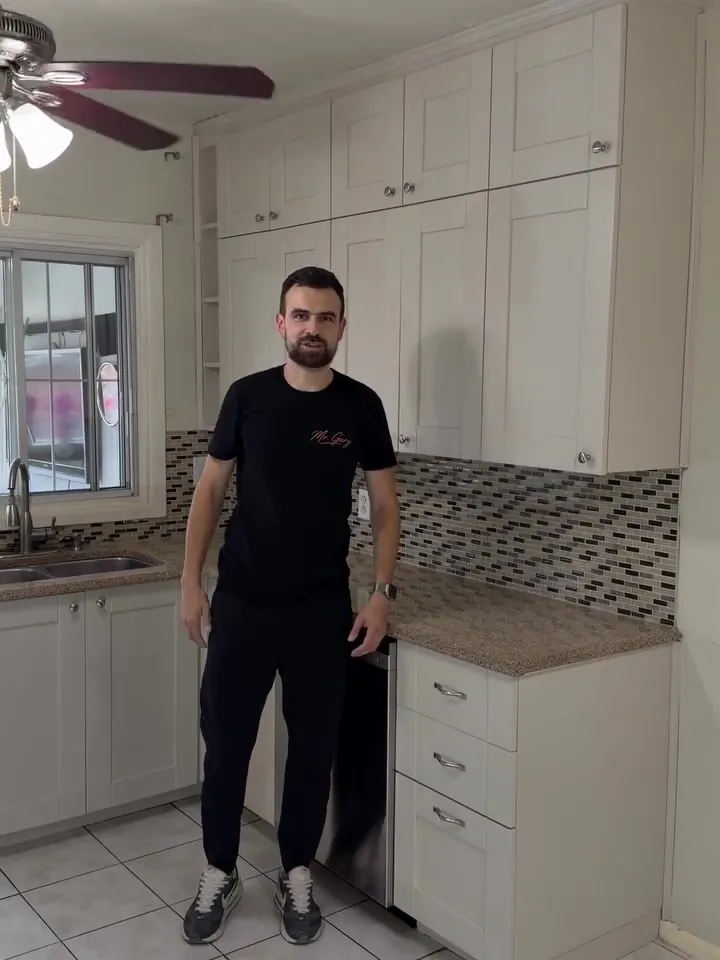
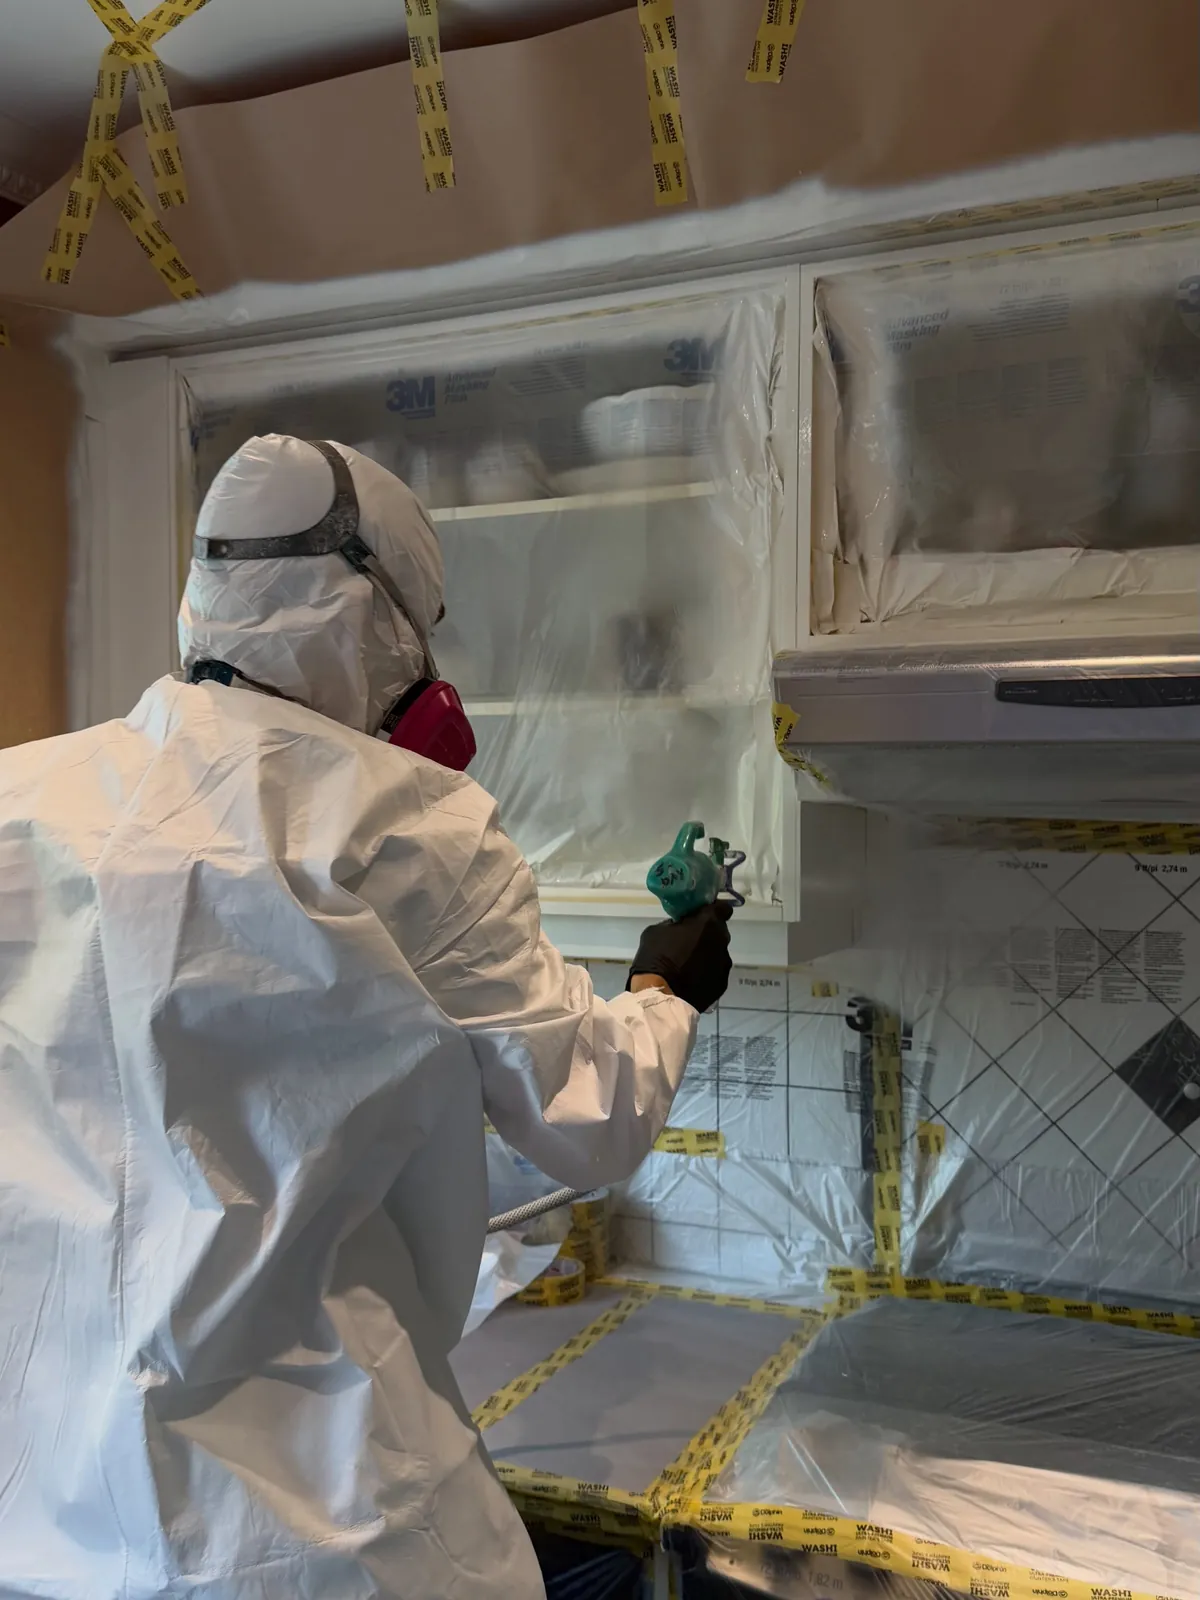
I filmed the walk-through on May 26 and put up the dust barrier the same day. That barrier separates the kitchen from the rest of the house for the whole job.
02
The week, post by post
Here is how the job went, in the order I posted it:
- May 26: walk-through before, dust barrier up.
- May 27: “Everything is ready for priming.” Primer goes on.
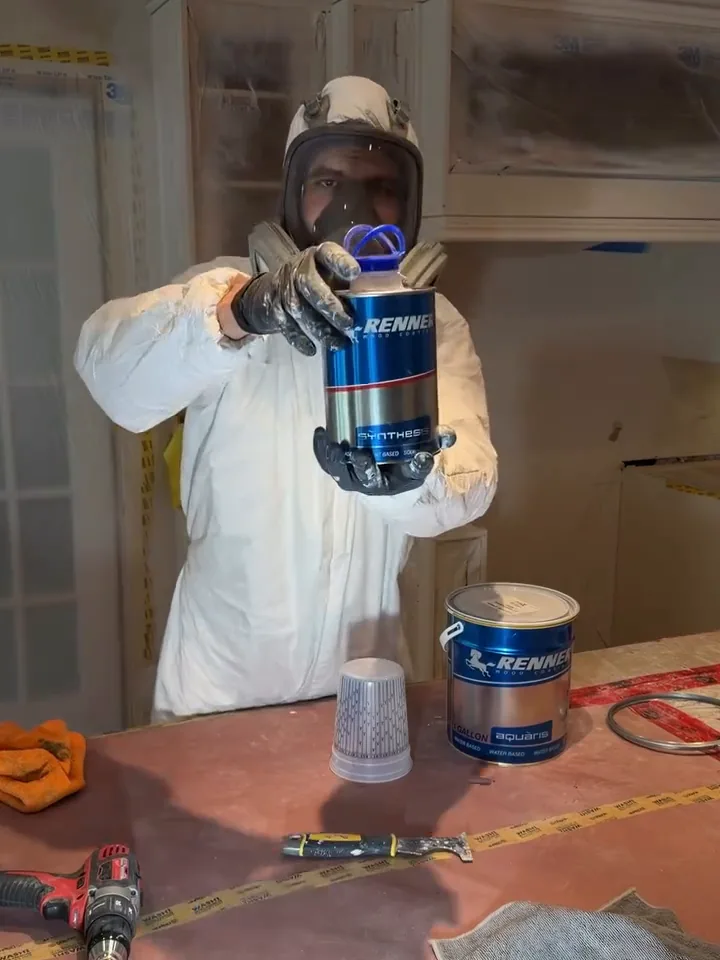
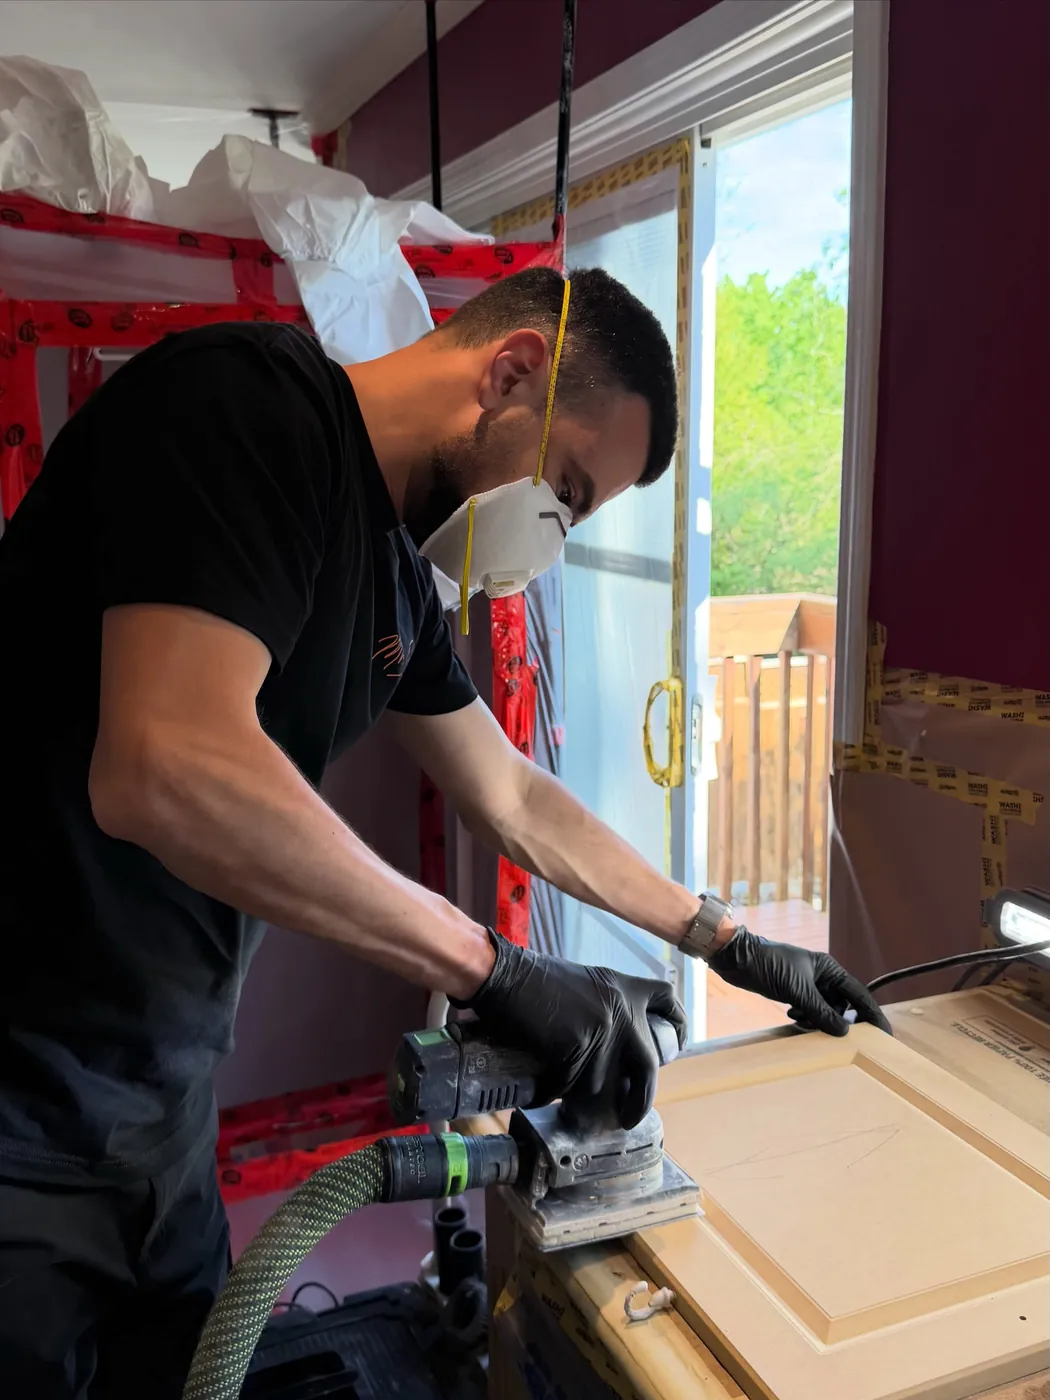
- May 28: sanding the primer with Festool, getting ready for the Renner top coats.
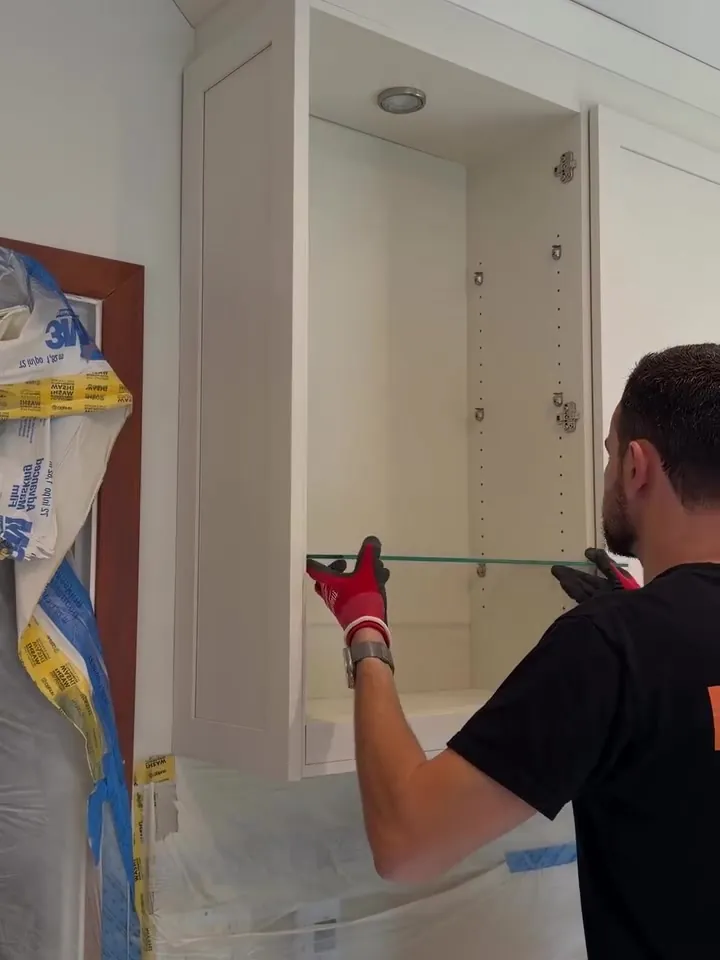
- May 29: getting ready to reinstall.
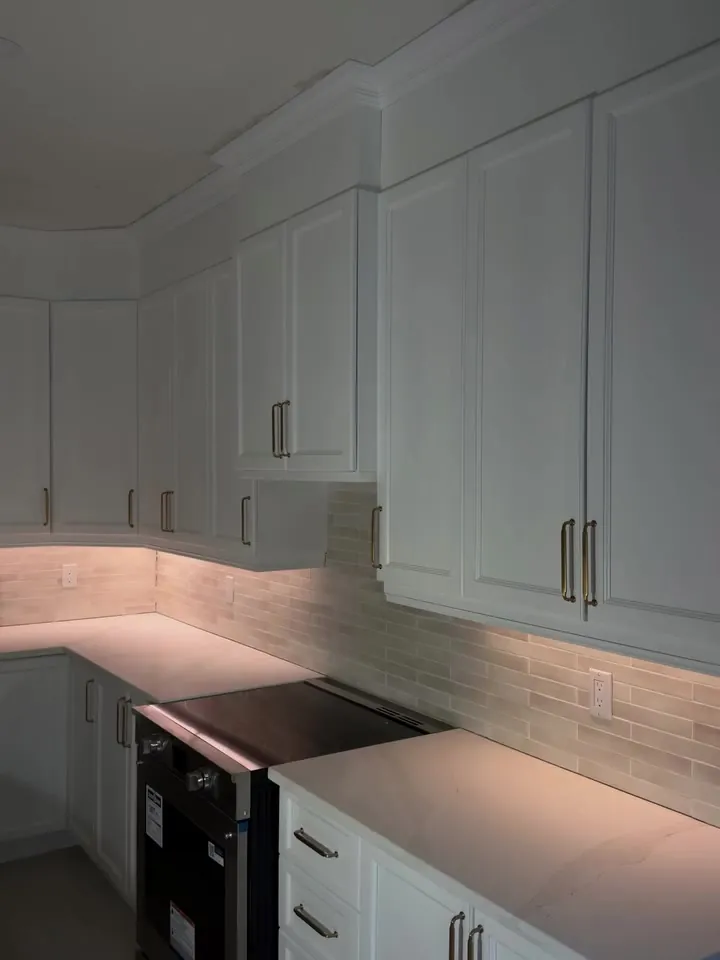
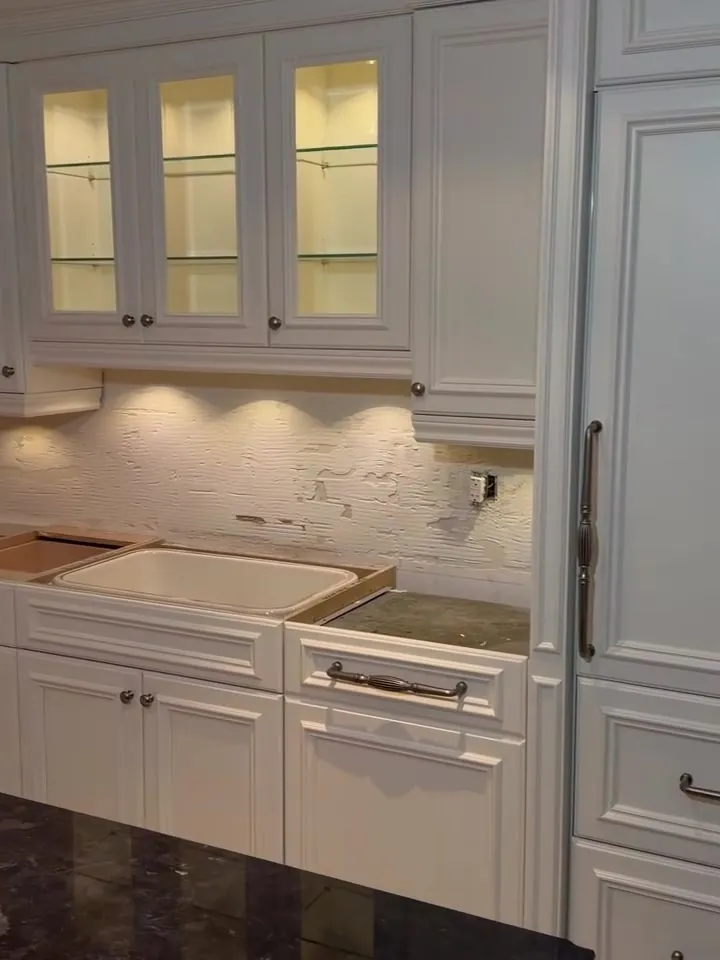
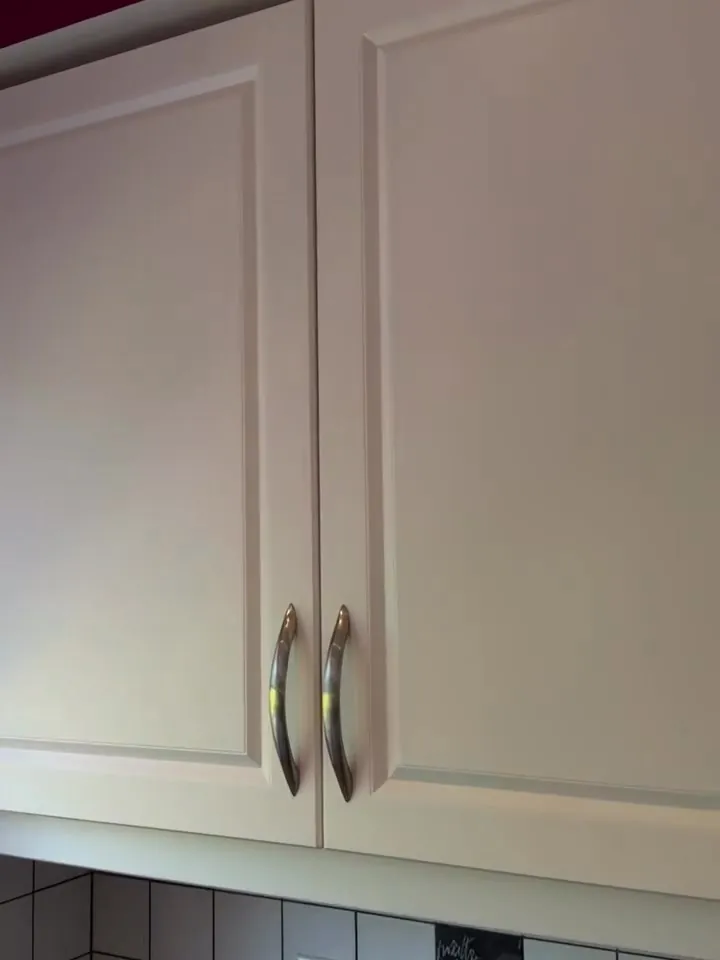
- May 30: “A new kitchen. Without replacing the cabinets.” Then “All done,” with the colour on screen: Swiss Coffee.
03
Why a light kitchen still gets the full process
When a kitchen changes from espresso to white, the photos do the talking. A light kitchen going a shade lighter is quieter, and the work is exactly the same: clean, sand, prime, sand the primer, then spray the colour on every door and box. The primer is what makes the new coats bond, and sanding it is what makes the last coat come out smooth.
What you see at the end is a finish that looks factory-made: the same sheen everywhere, crisp edges, no brush or roller marks. The Day 1 to Day 5 videos I posted in June were filmed in this kitchen, if you want to see each step up close. The MDF cabinet painting page explains what MDF needs.
04
See the whole project
Before and after photos, the videos and the full timeline are on the project page. If you are weighing a colour, my guide to choosing a cabinet colour walks through it.