01
Off, labelled, on racks
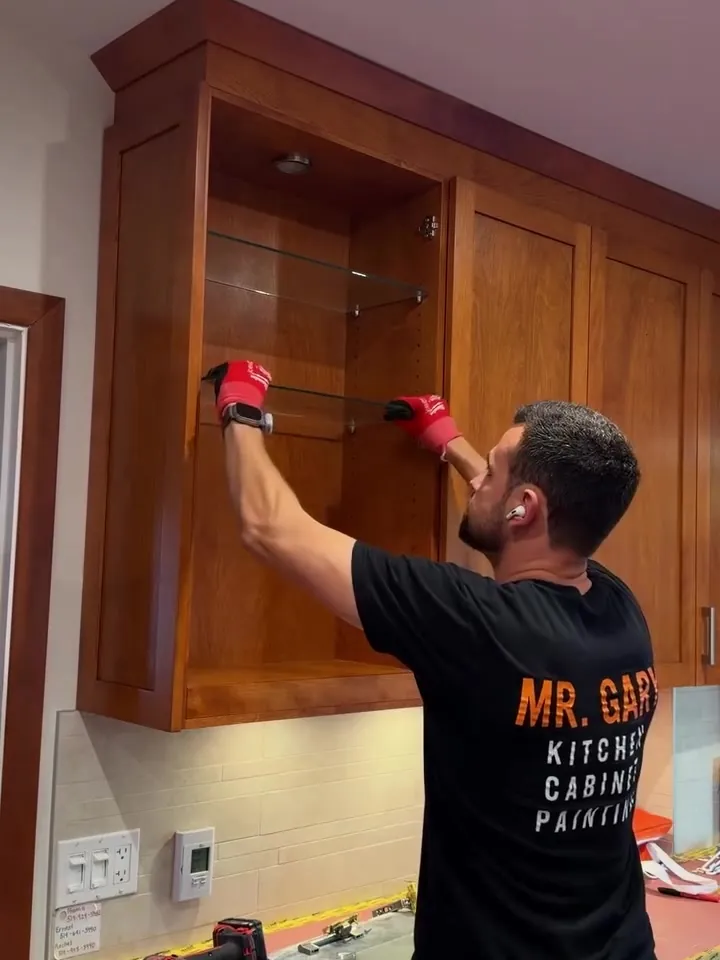
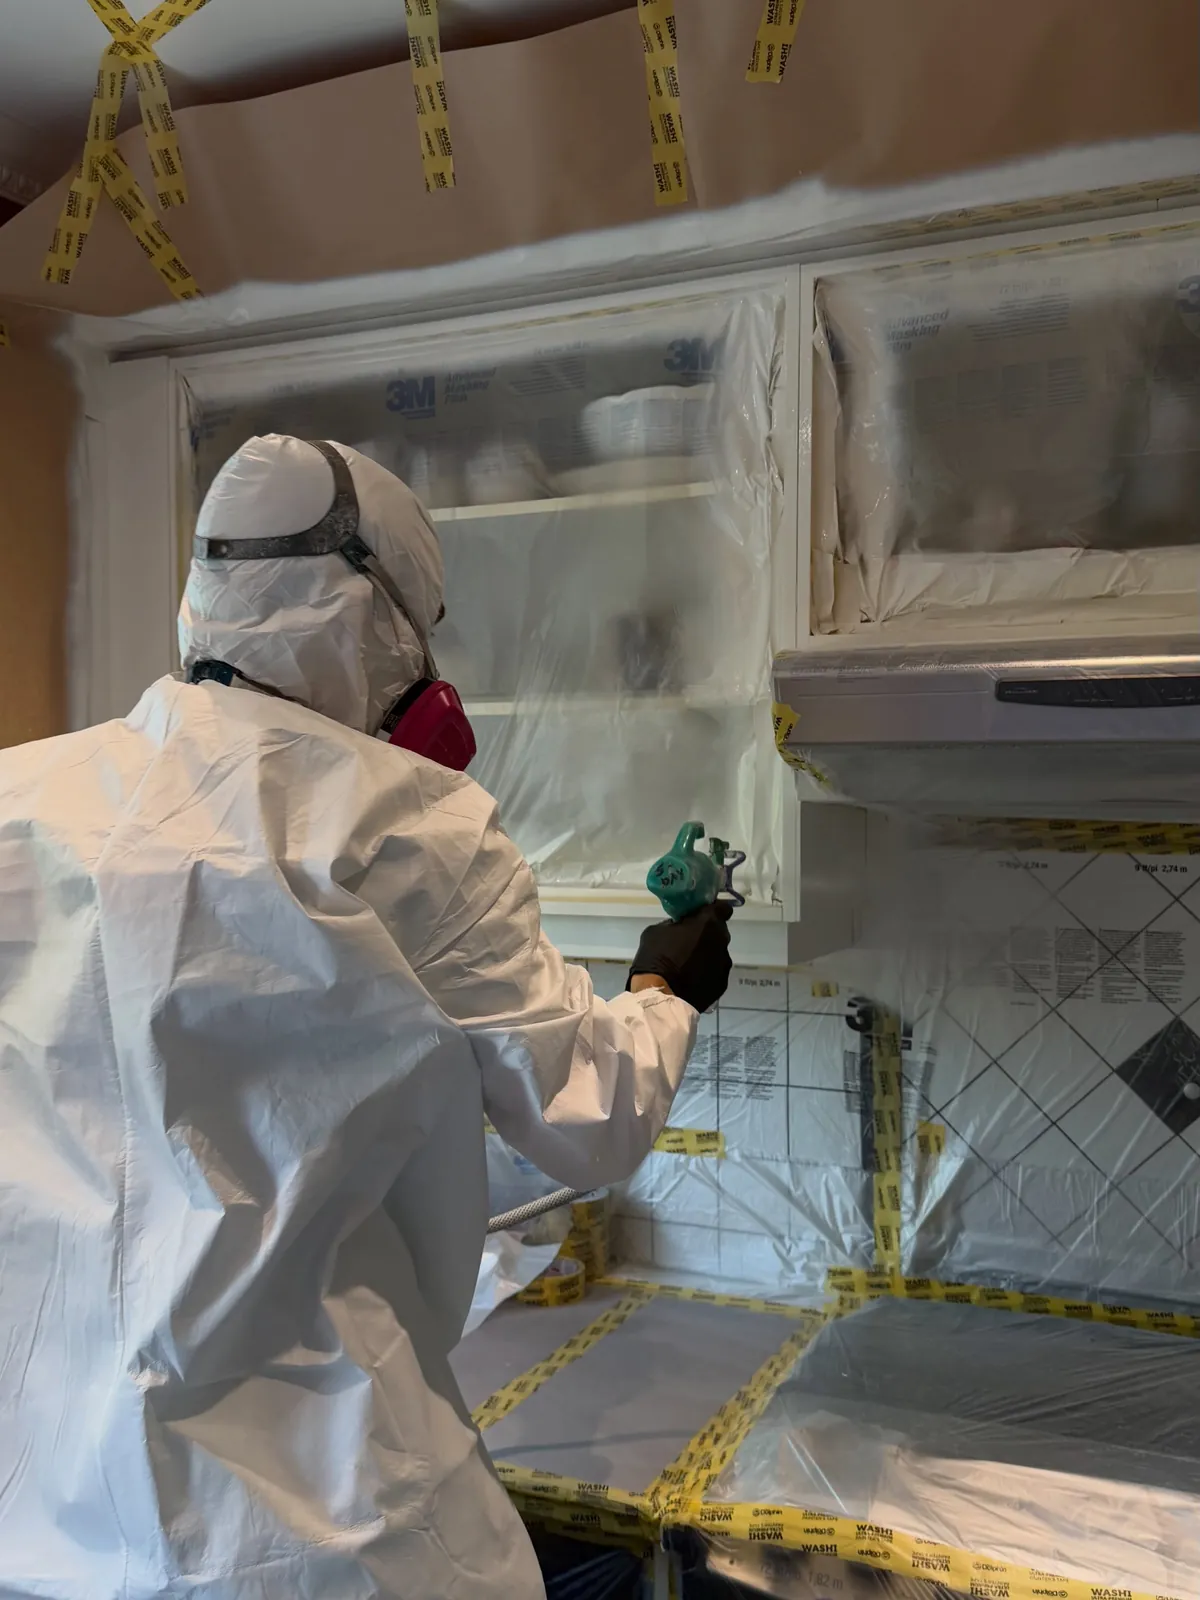
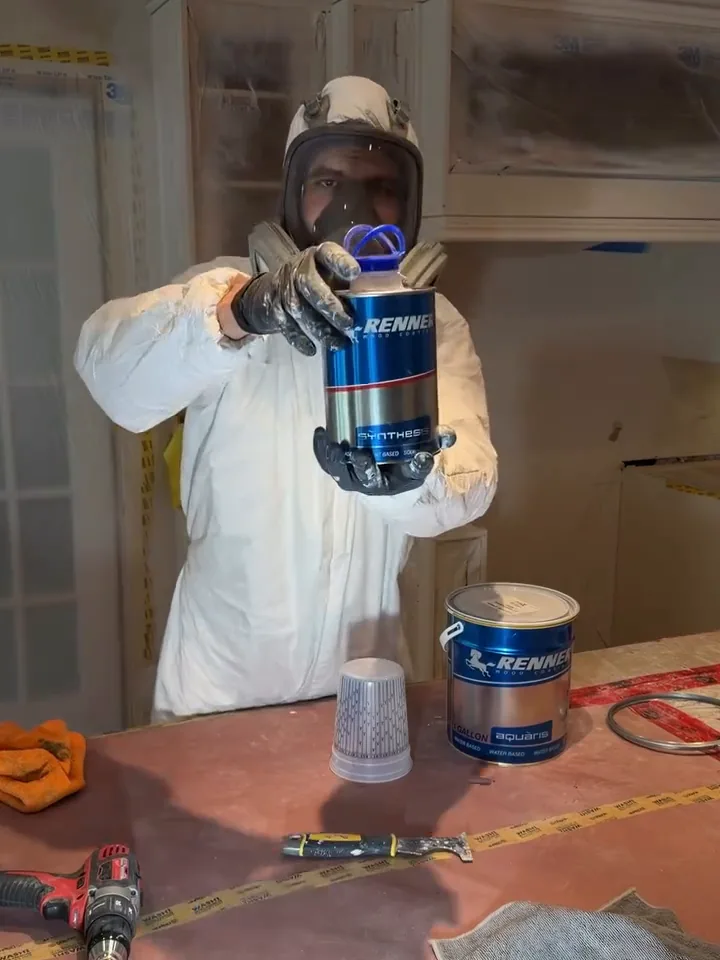
On day one every door and drawer front comes off, and the hinges come off the doors. Each piece gets a label that matches its opening, so every door goes back to the exact spot it came from. They are prepped on stands and sprayed hanging in the booth.
02
Every door style has its own prep
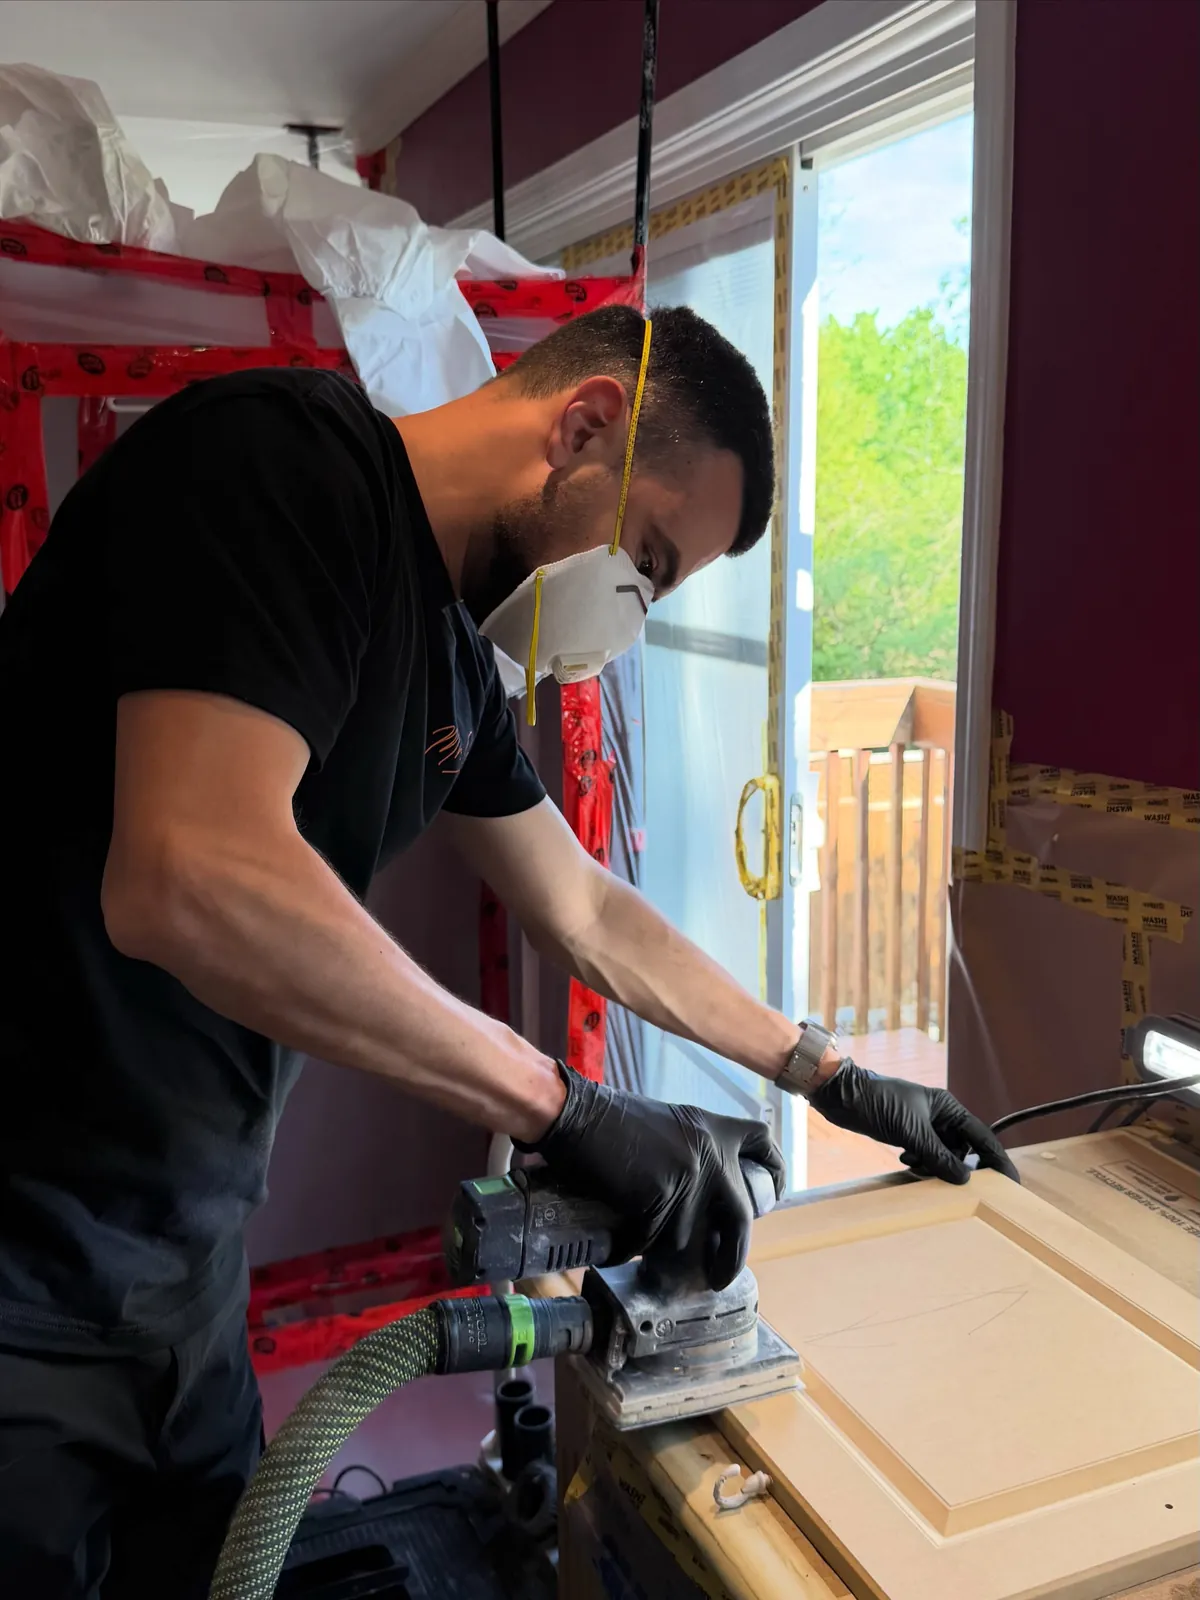
Flat faces are machine-sanded with dust extraction. Everything else is done by hand, because that is where grease sits and where primer lets go first.
- Shaker: the inside corners where rail meets panel collect grease; they are cleaned and hand-sanded with Festool sanding pads.
- Raised panel and cathedral (arched) doors: the profiles are sanded by hand so primer grips in every curve.
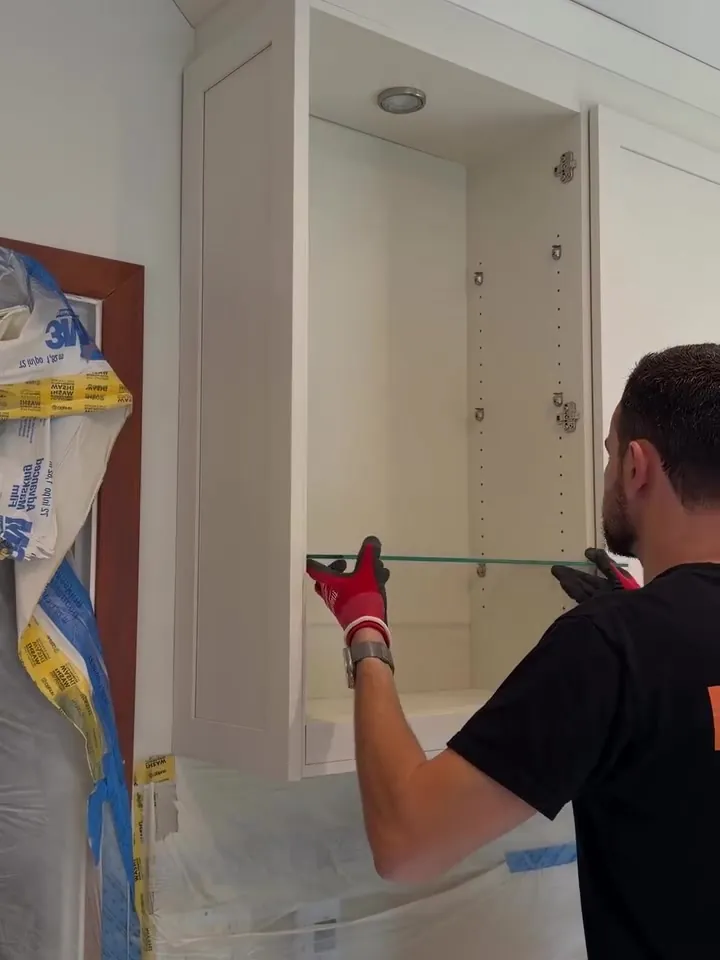
- Glass doors: the glass comes out before primer and goes back in after the last coat.
- Grid doors with several panes: every muntin is primed and sprayed.
- Carved brackets and trim: sanded by hand, then sprayed.
03
Chipped and worn doors
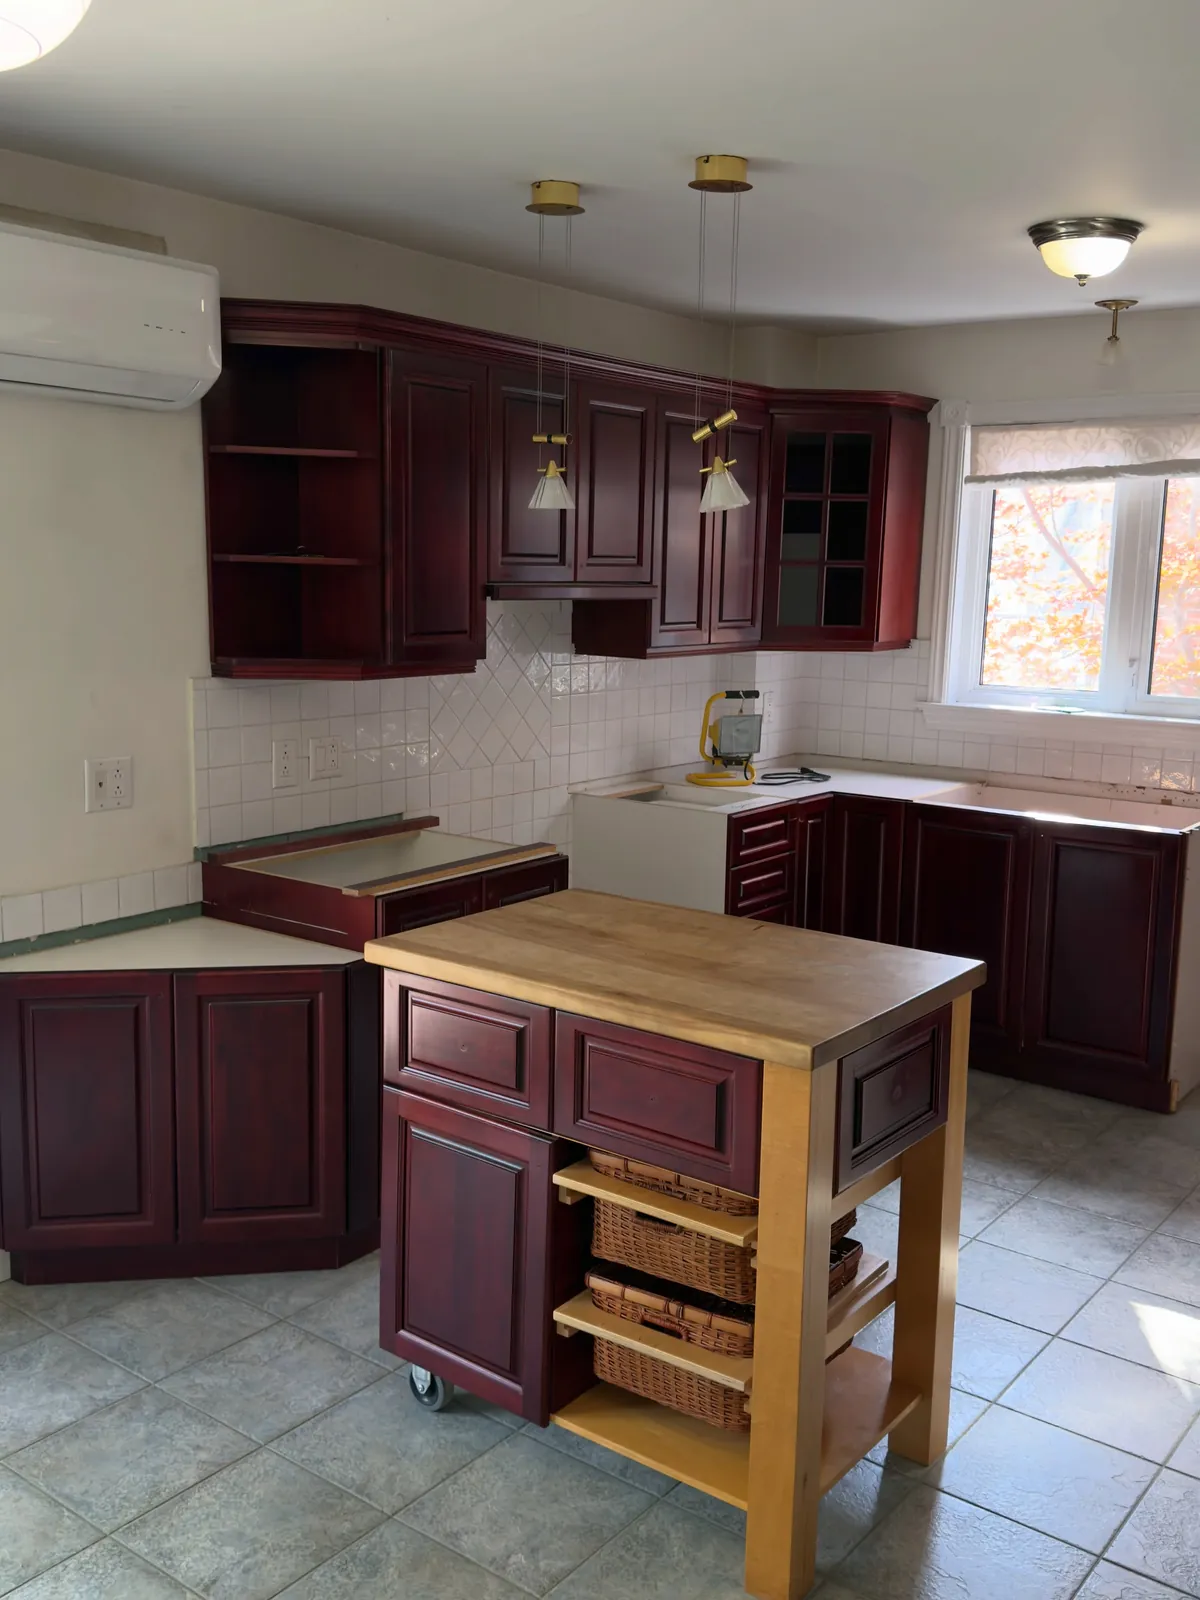
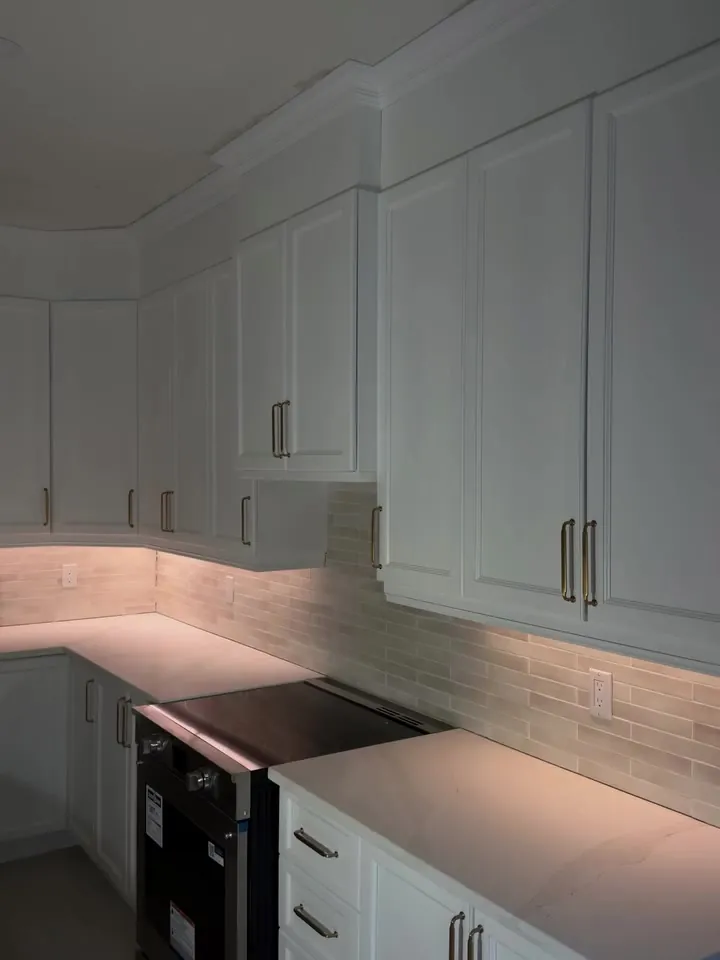
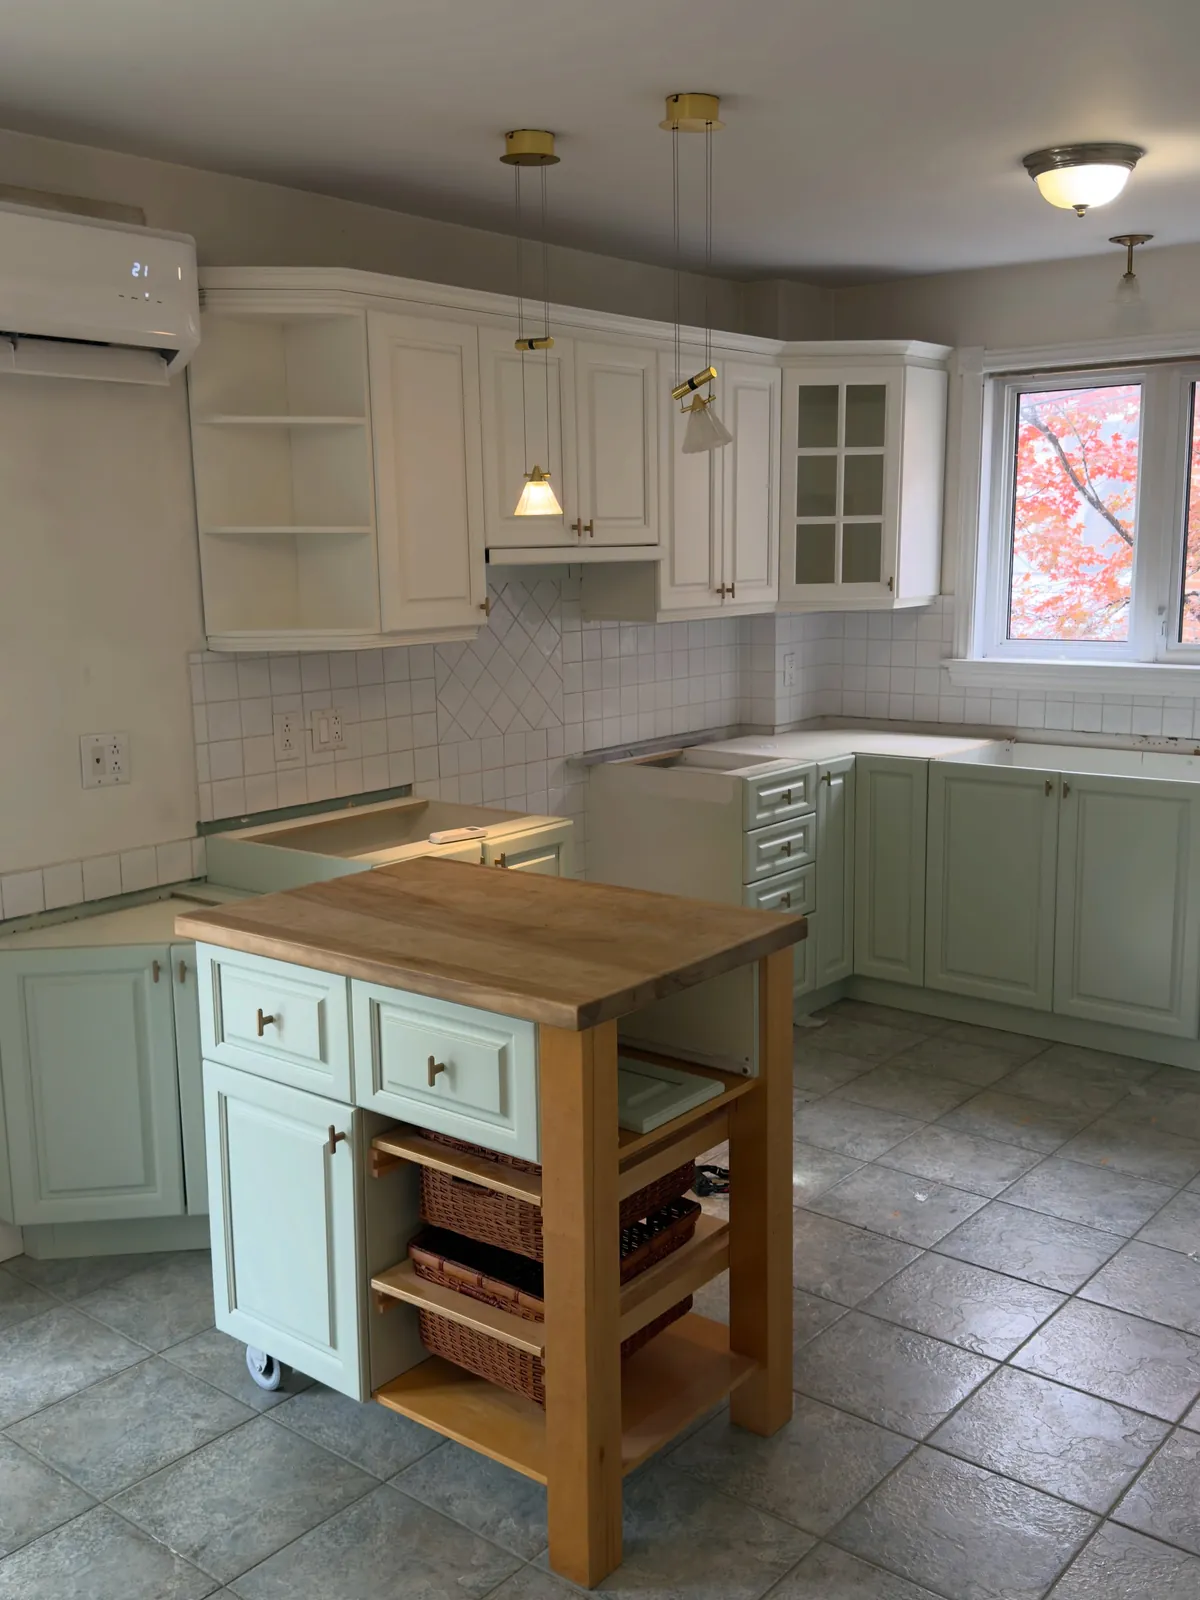
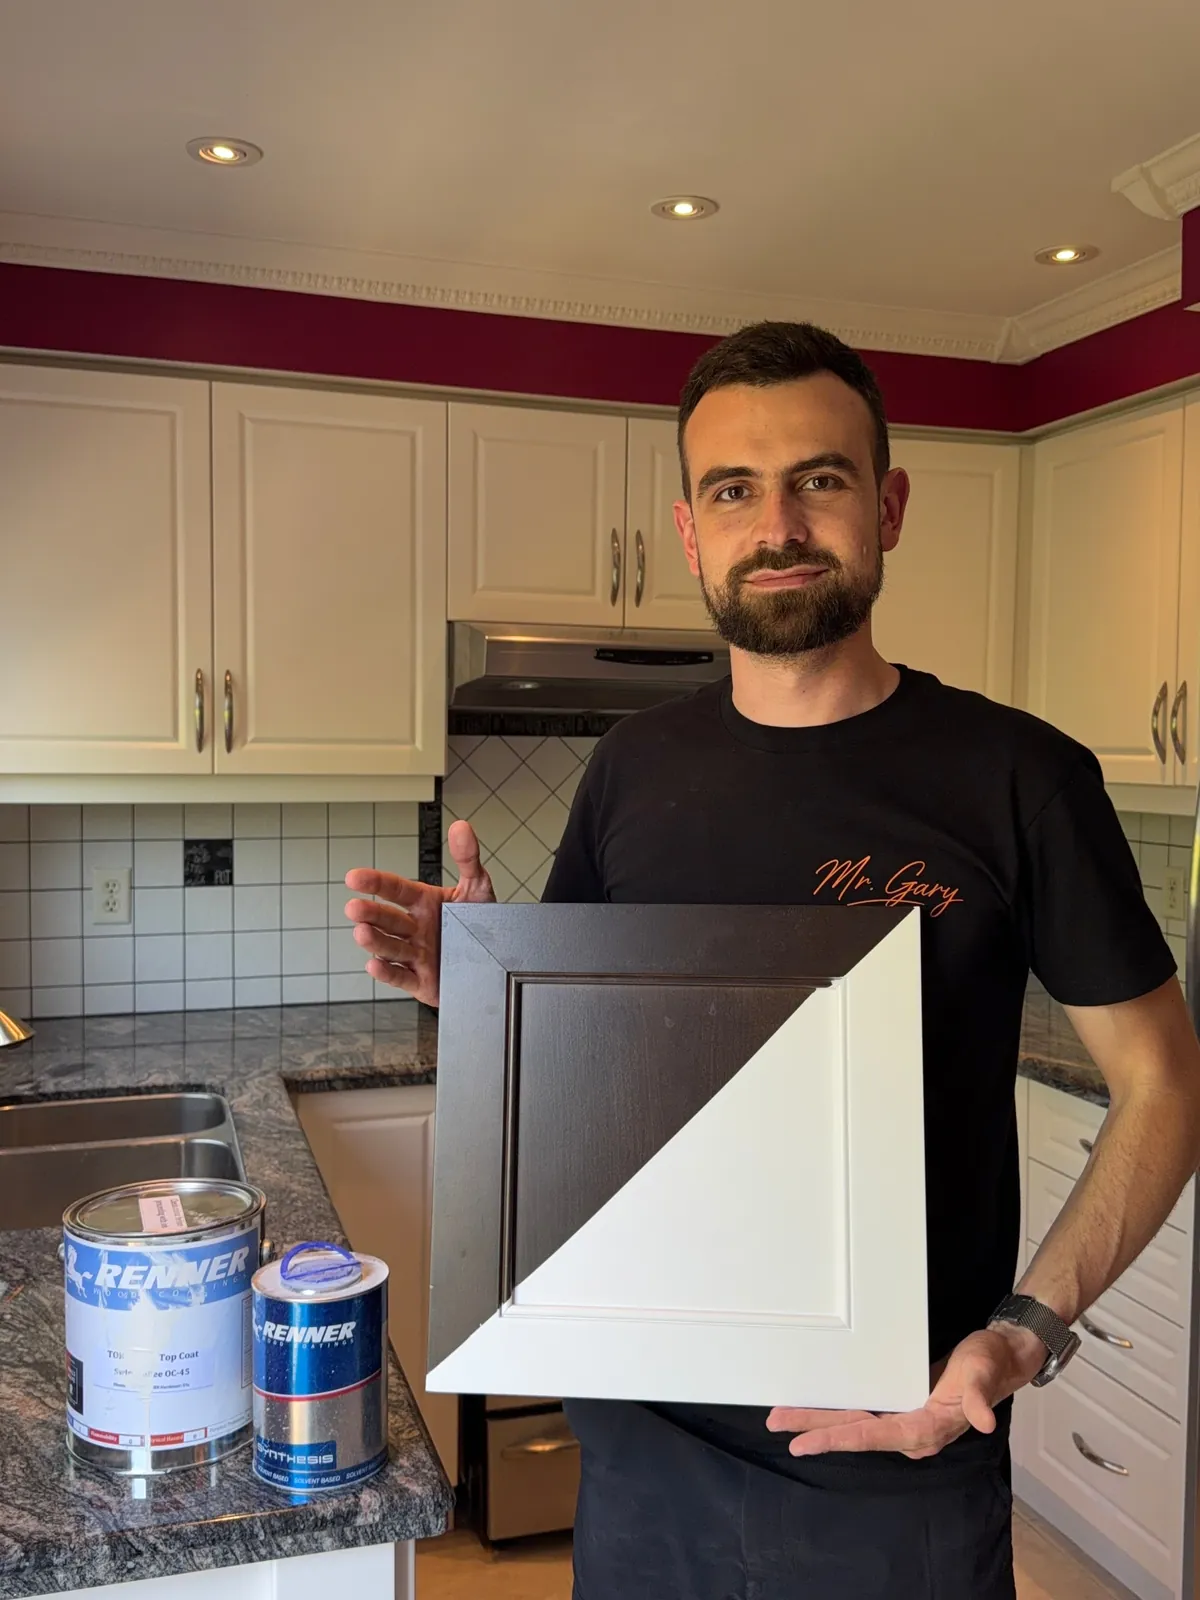
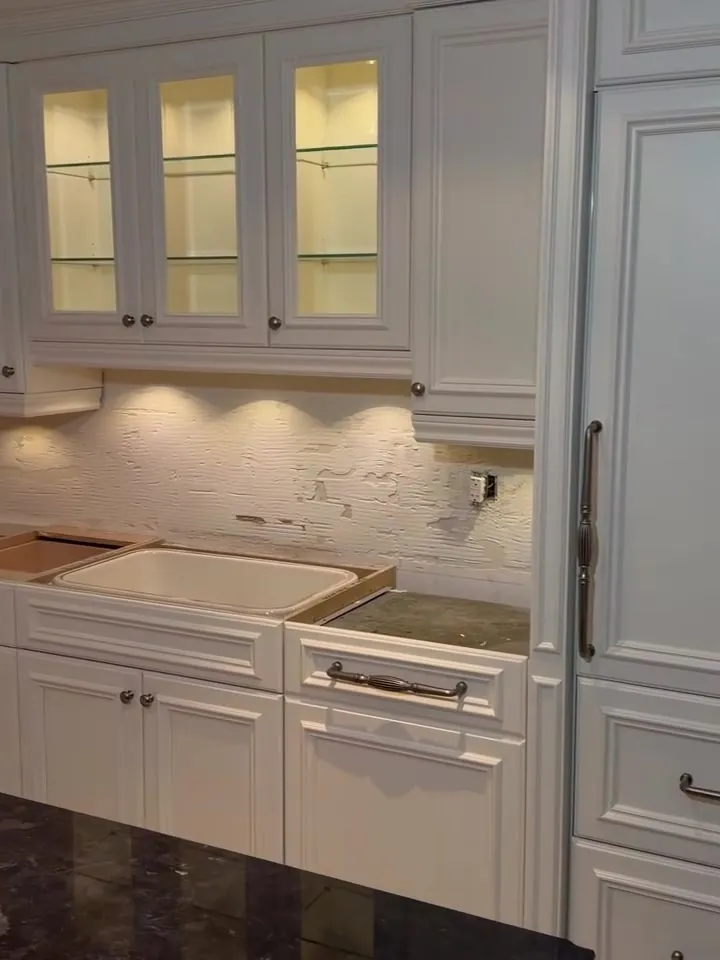
Some doors need more than sanding: chipped corners, worn edges near the handles, dents, old paint lifting. Those are cleaned, filled and sanded flush before primer. In a Dorval kitchen several doors went into the booth patched with filler and came out one even white.
04
Doors only, or the whole kitchen?
Painting only the doors leaves the face frames and end panels in the old colour, and the difference shows every time a door is open. For a finished look the boxes and panels are usually sprayed the same week, with the same coating and colour.
Send photos of the frames too, and I will tell you what makes sense for your kitchen.
05
Hinges and new handles
Doors are realigned when they go back on, so the gaps line up. If you are changing handles or knobs, the new ones go on at reinstallation; when the spacing differs, the old holes are filled before primer.
From a client
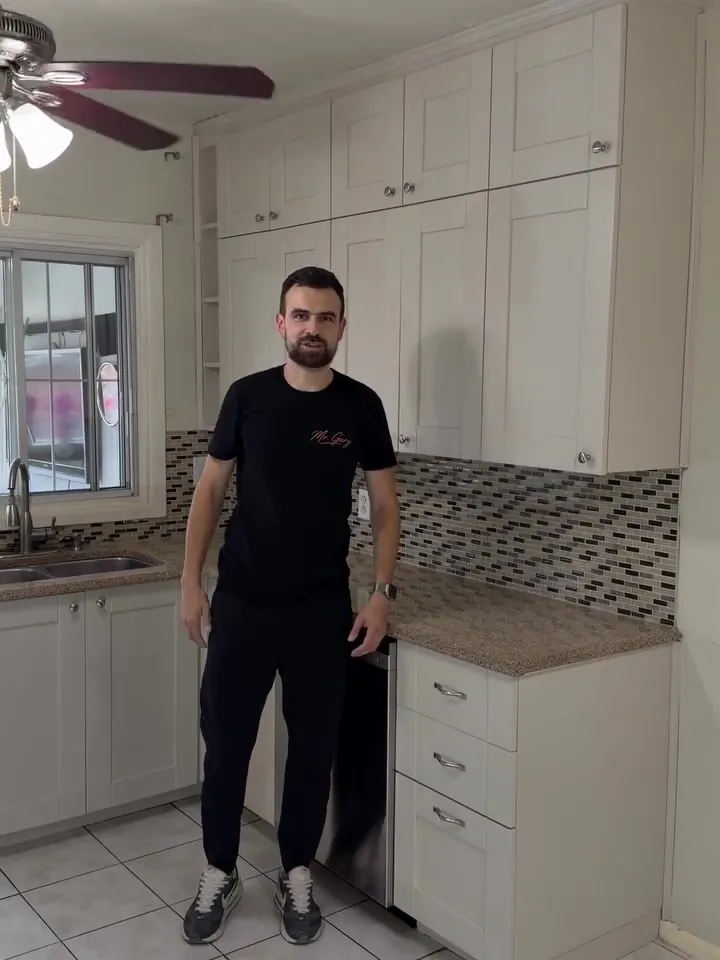
“The kitchen looks brand new, as if it was just installed by the manufacturer.”