
01
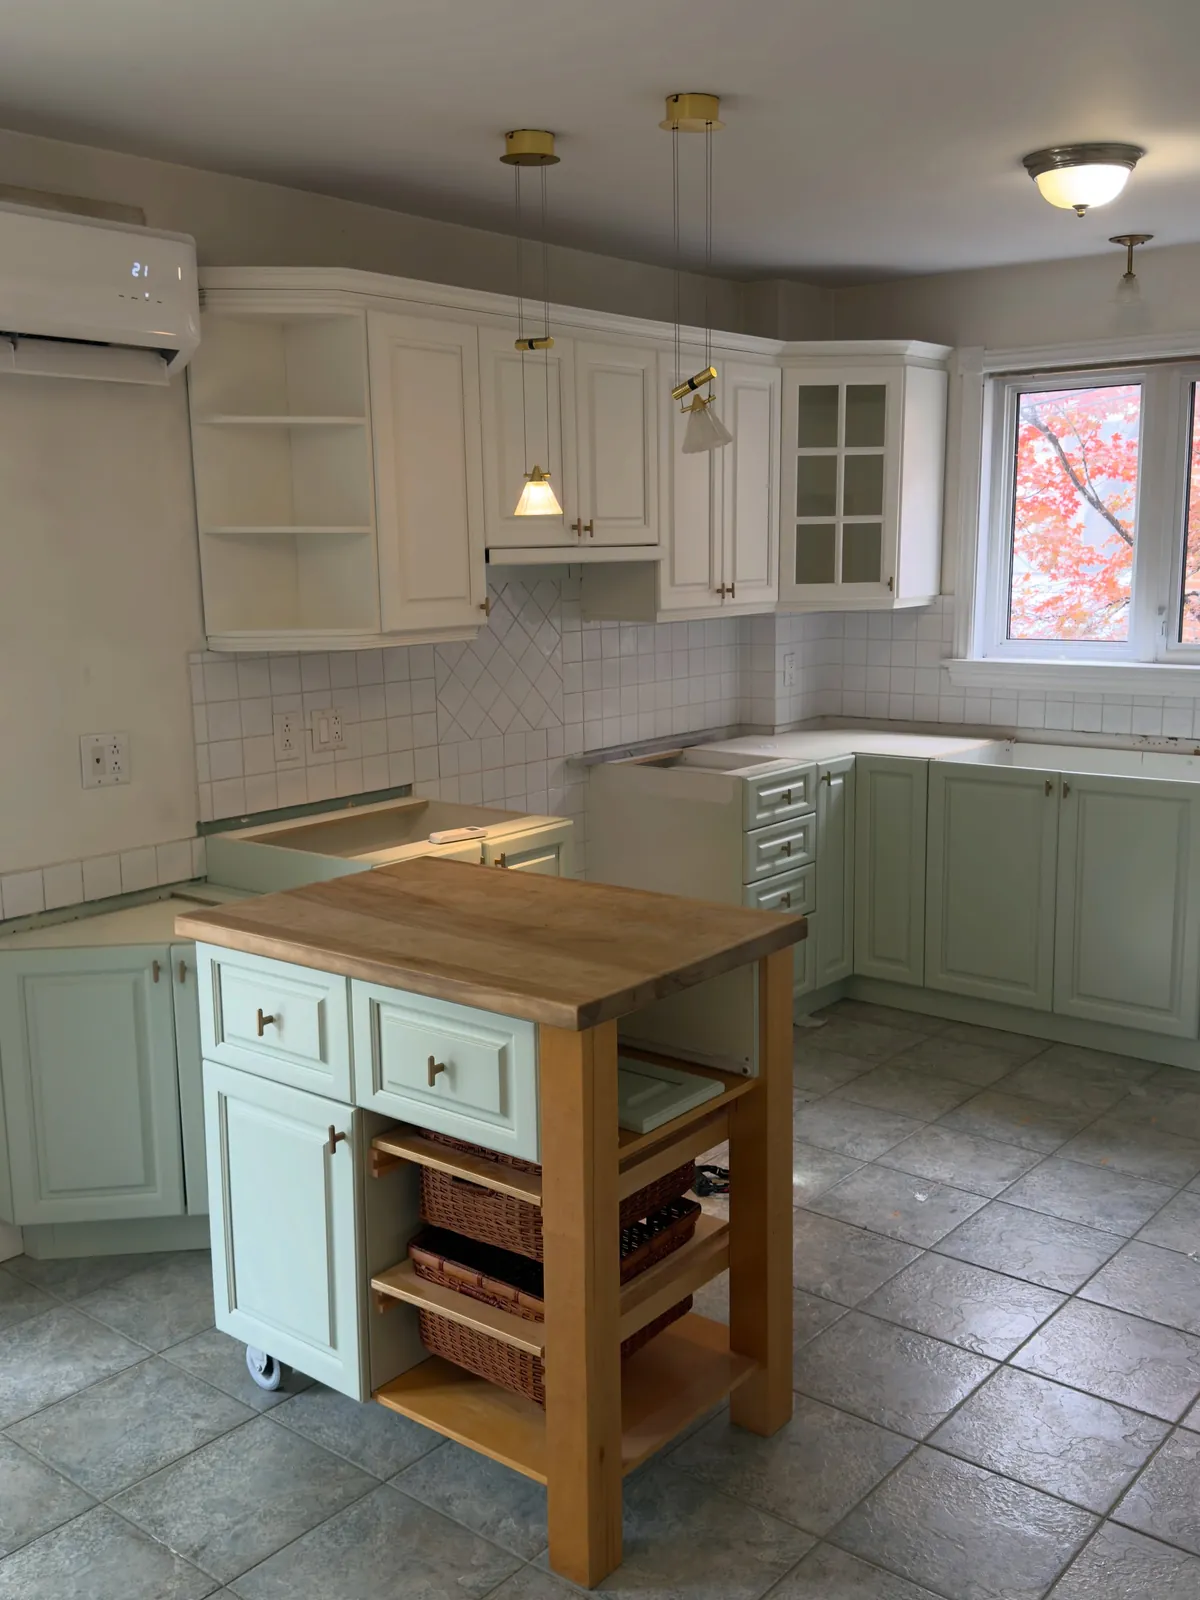
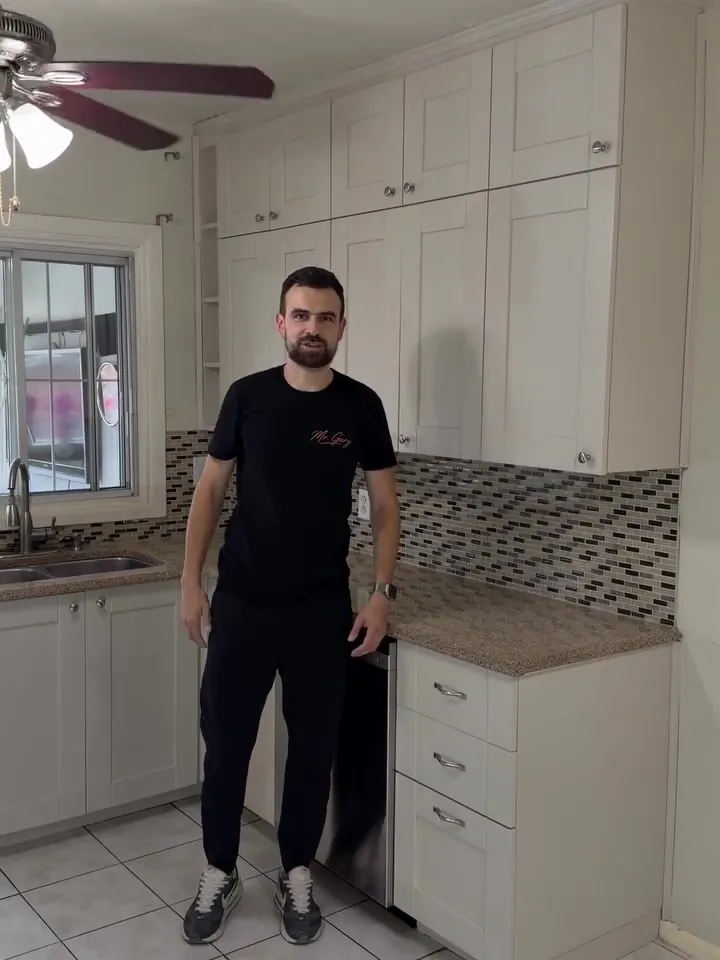
A light kitchen that had worn out
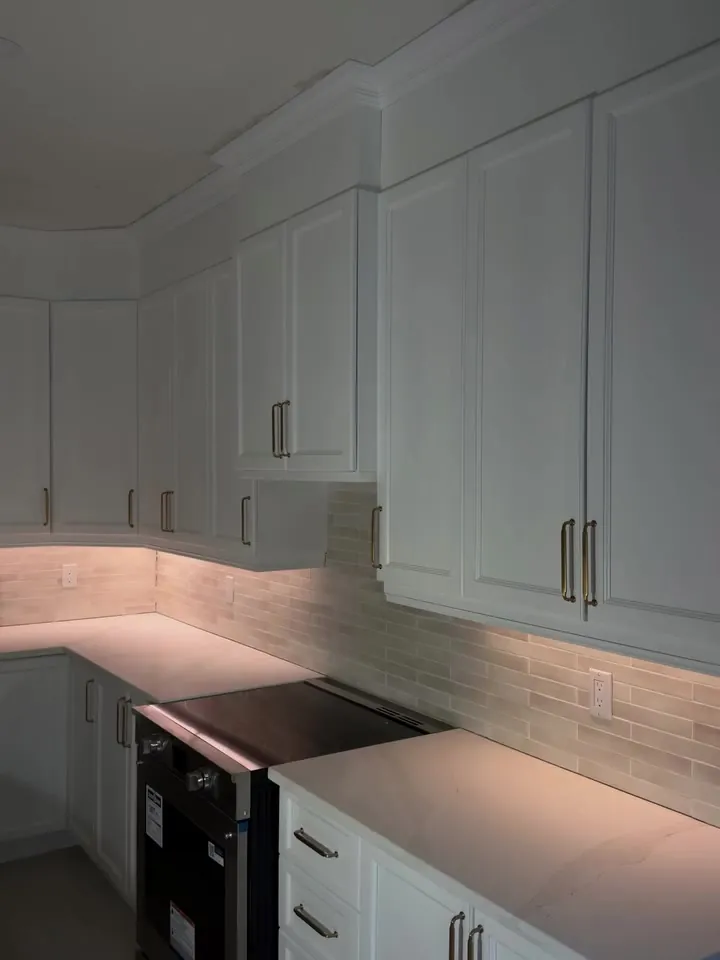
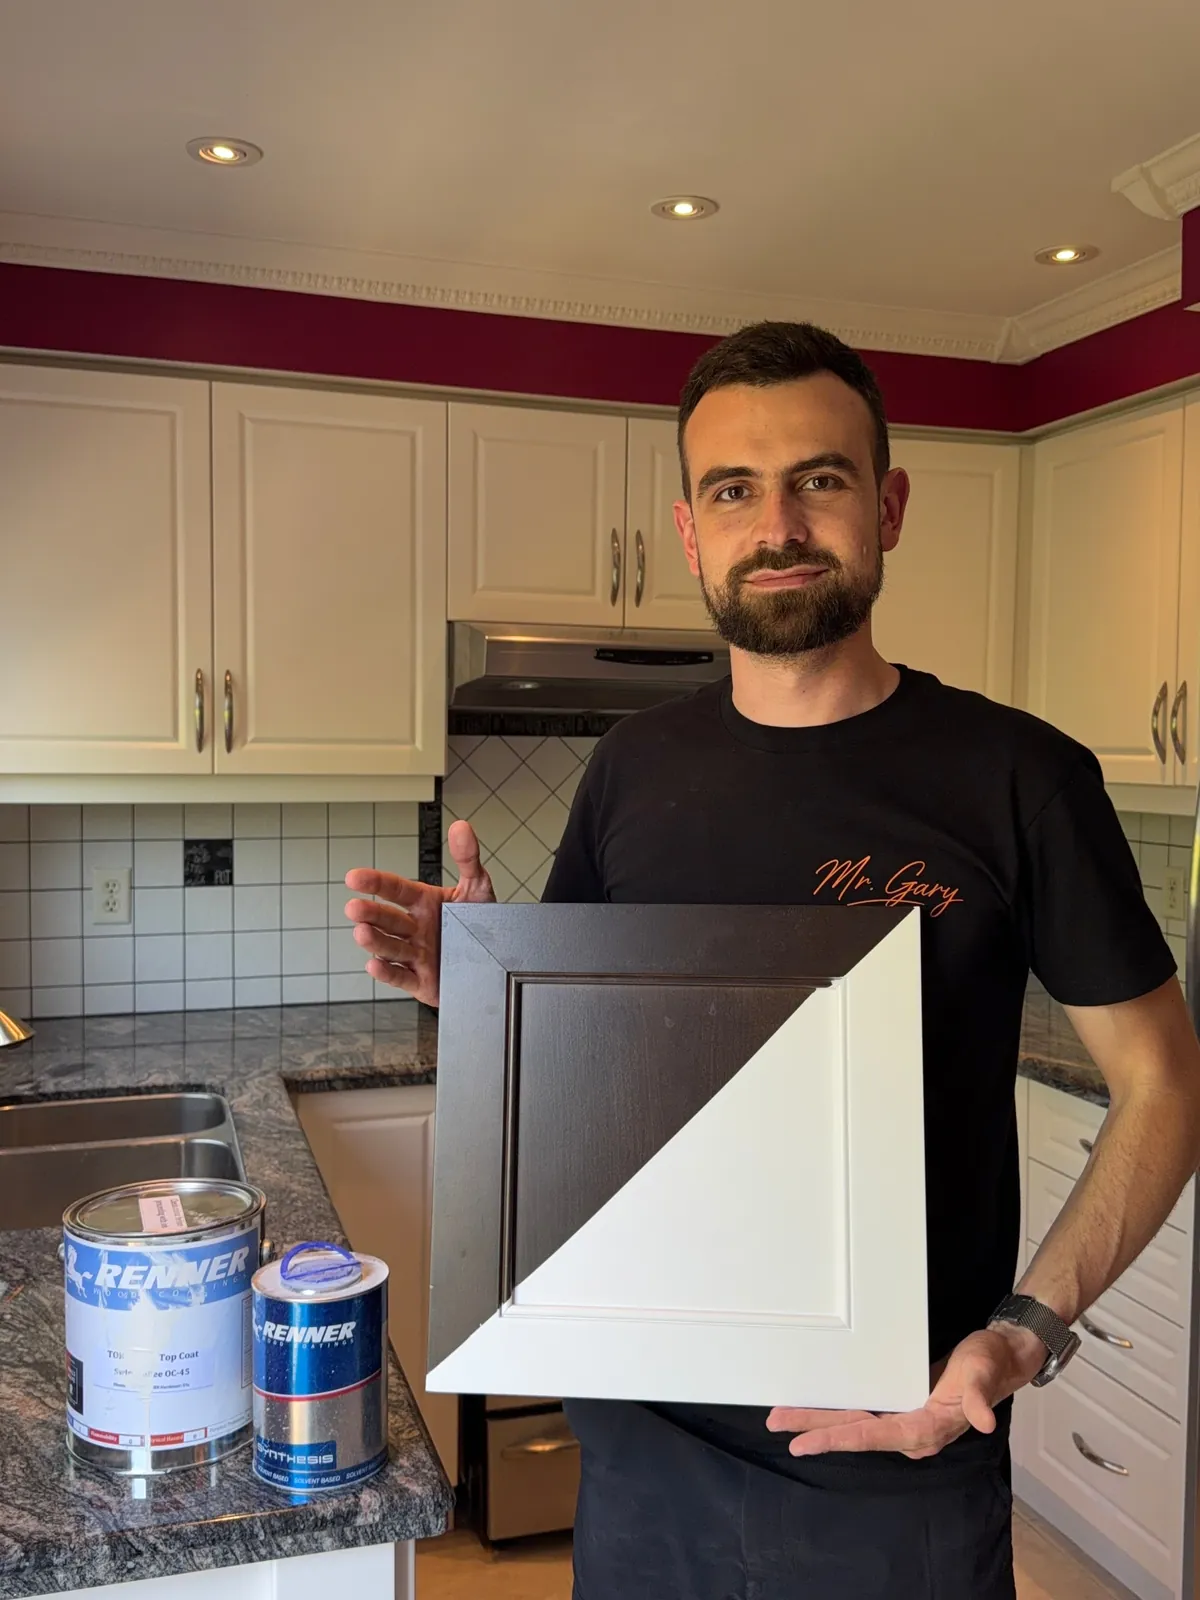
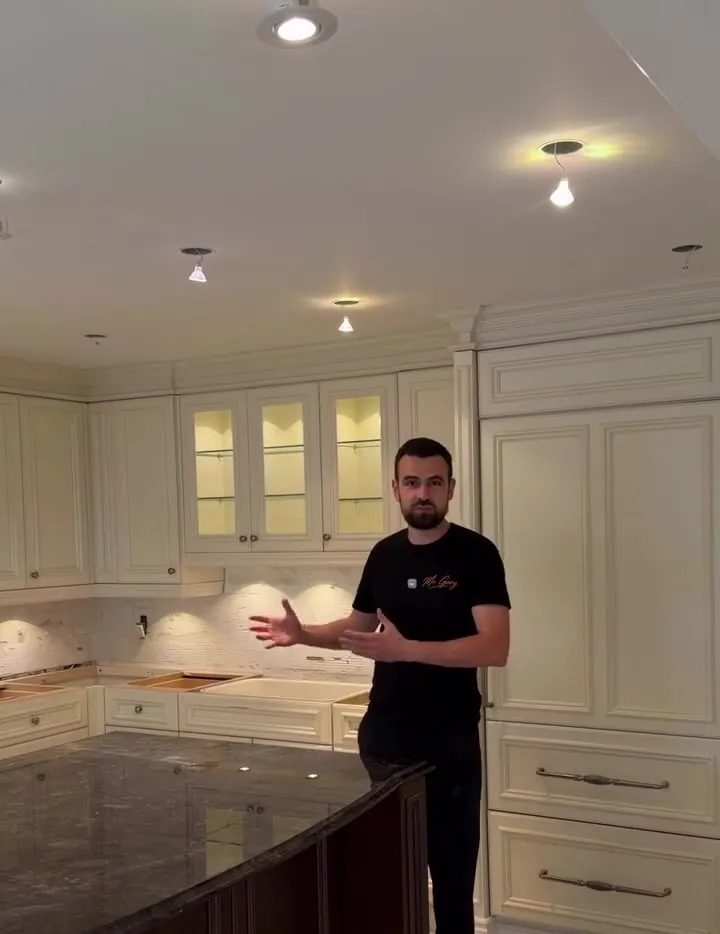
This one was cream already. The trouble was wear: years of hands, cooking and cleaning on a painted finish, around corbels, columns and detailed doors. It needed a new surface, in a warm white: “white chocolate,” as I wrote in the caption.
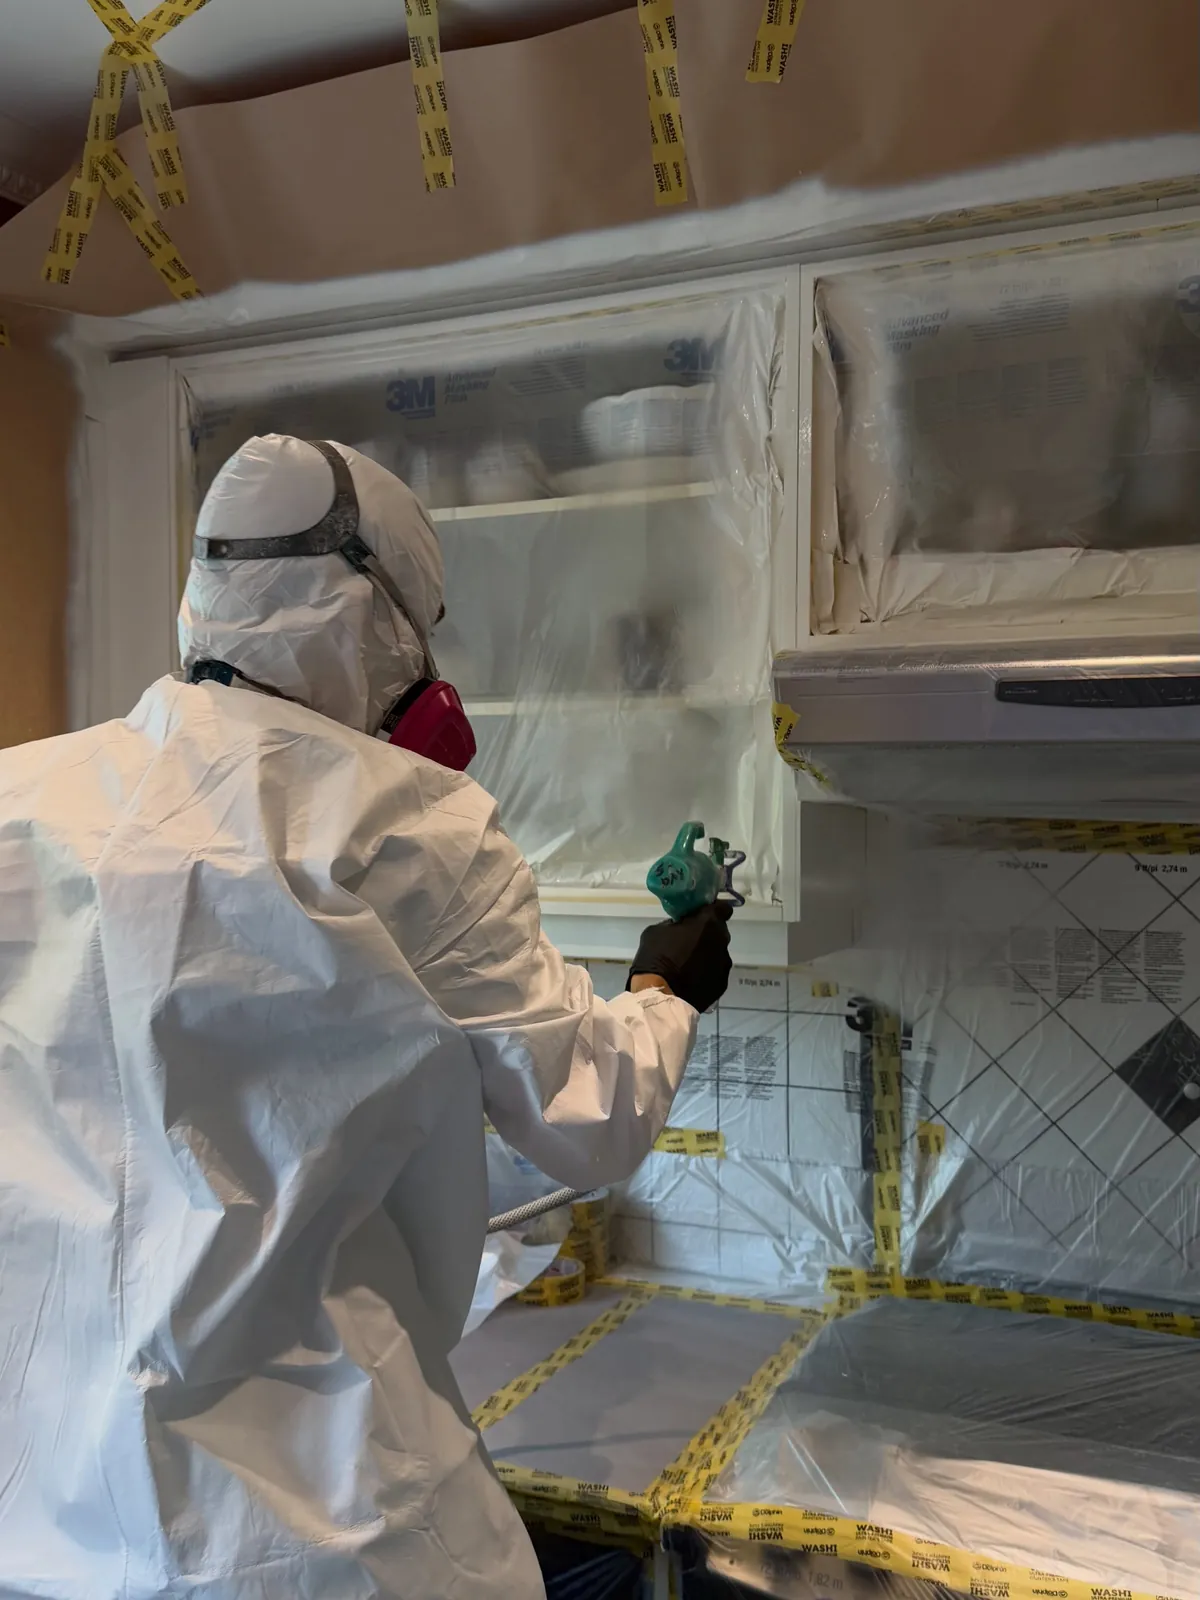
I filmed the walk-through on September 8 and the same day put up a spray barrier to separate the work area from the rest of the home.
02
The vanity joined the project
On day two I posted: “My 5DAY ONSITE Kitchen Cabinet Painting Project sometimes includes bathroom vanities too. If your vanity is part of the kitchen project, I can give it the same professional, factory-style sprayed finish.”
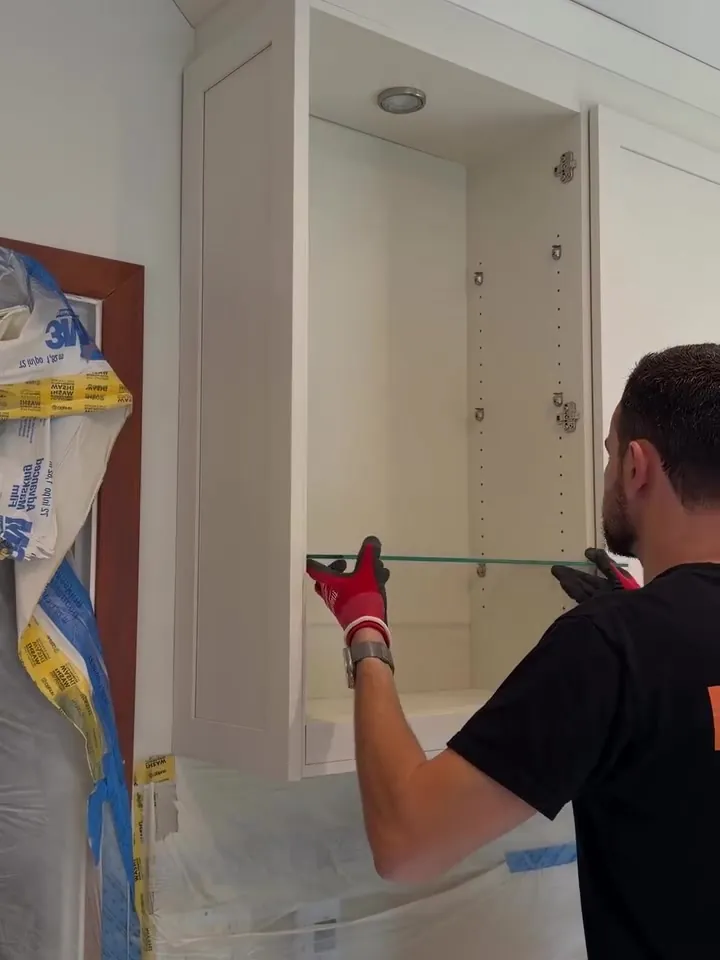
The vanity boxes were masked with 3M plastic, the same way as the kitchen, and the vanity got the same sprayed finish as the kitchen.
03
Detailed doors take longer
Raised panels and profiles hold grease and dust in every groove. The posts from this week show where the time went:
- September 9: prep station set up, “where every door is carefully prepared before spraying.”
- September 10–11: cleaning every door, removing grease and tough buildup; “Detailed cabinet doors require extra attention during sanding.”
- September 12: first coat of BIN shellac-based primer.
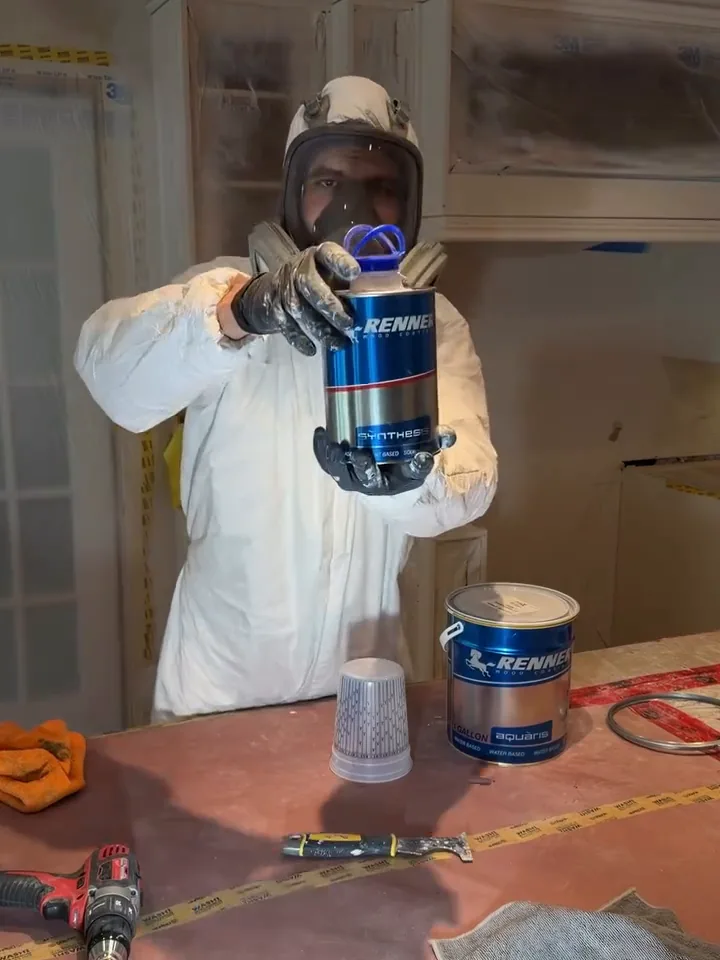
- September 14: every profile sanded by hand, then the first coat of Renner Italia 2K in white chocolate.
- September 15: masking removed, final day, installation.
04
Complete
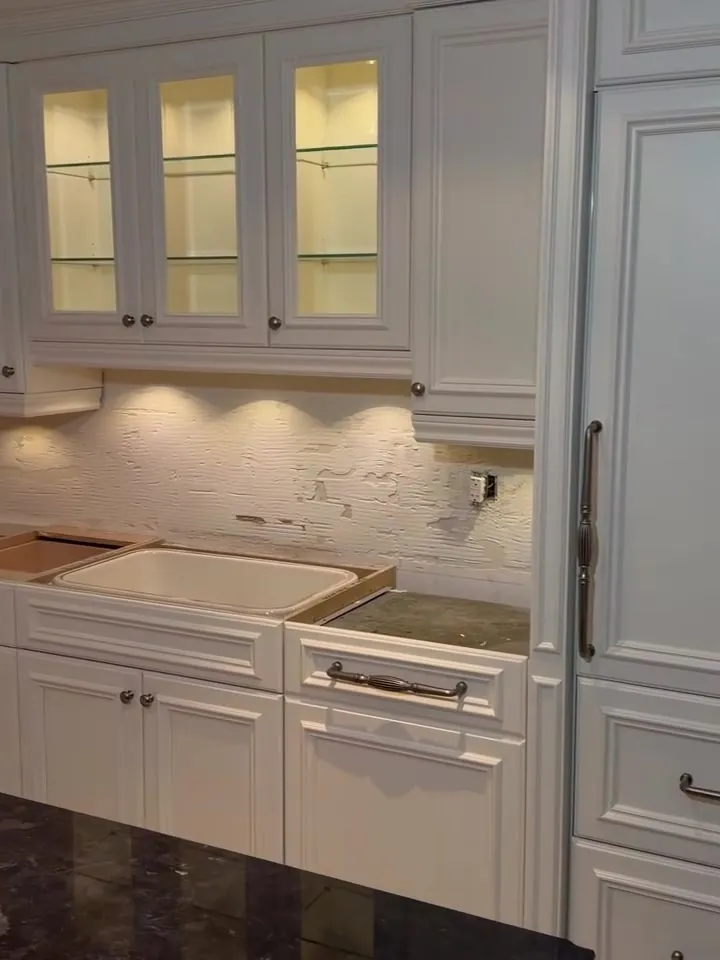
On September 16 the lights in the glass uppers came back on over a fresh finish. The before and after, the vanity video and the full timeline are on the project page.
If your vanity matches your kitchen, or simply needs the same treatment, the vanity painting page explains how I add it to a kitchen job.