
01
Leave everything where it is
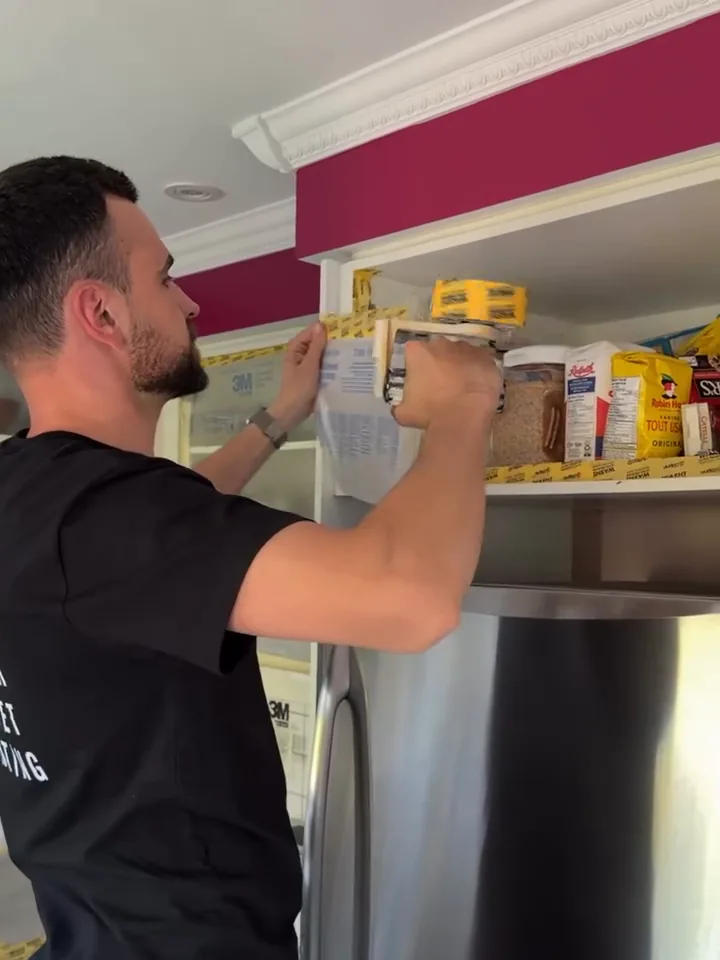
It is one of the first questions people ask: do I have to empty the kitchen? I have answered it on Instagram more than once. In June: “You don’t need to remove anything from inside your cabinets. Everything is carefully masked and protected on day one.” In August, in Town of Mount Royal: “You don’t need to empty your cabinet boxes — I carefully mask and protect everything inside before spraying.”
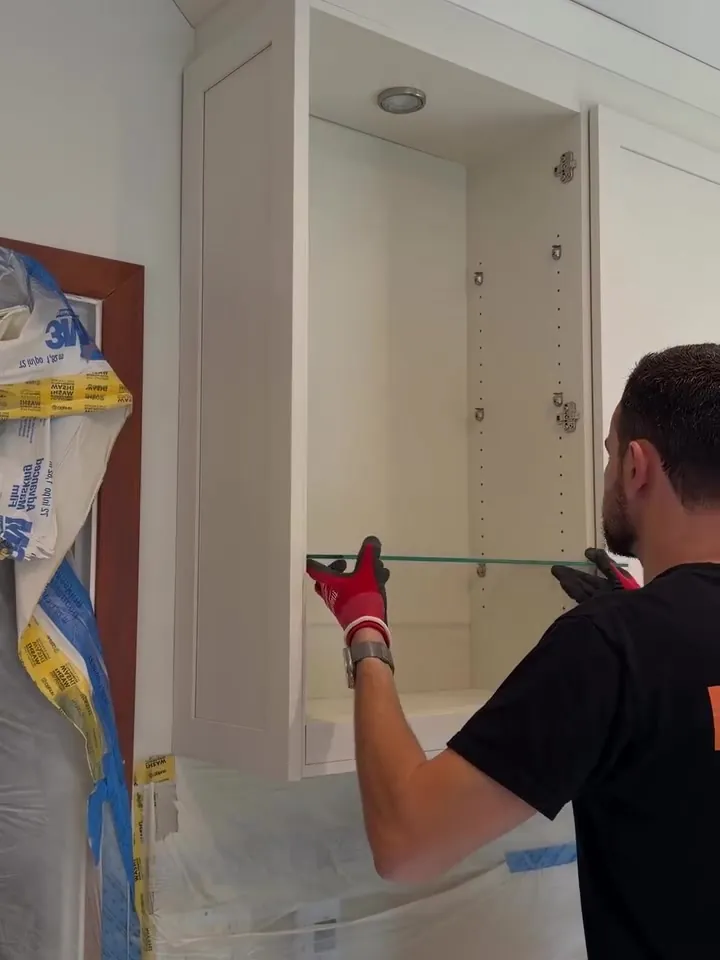
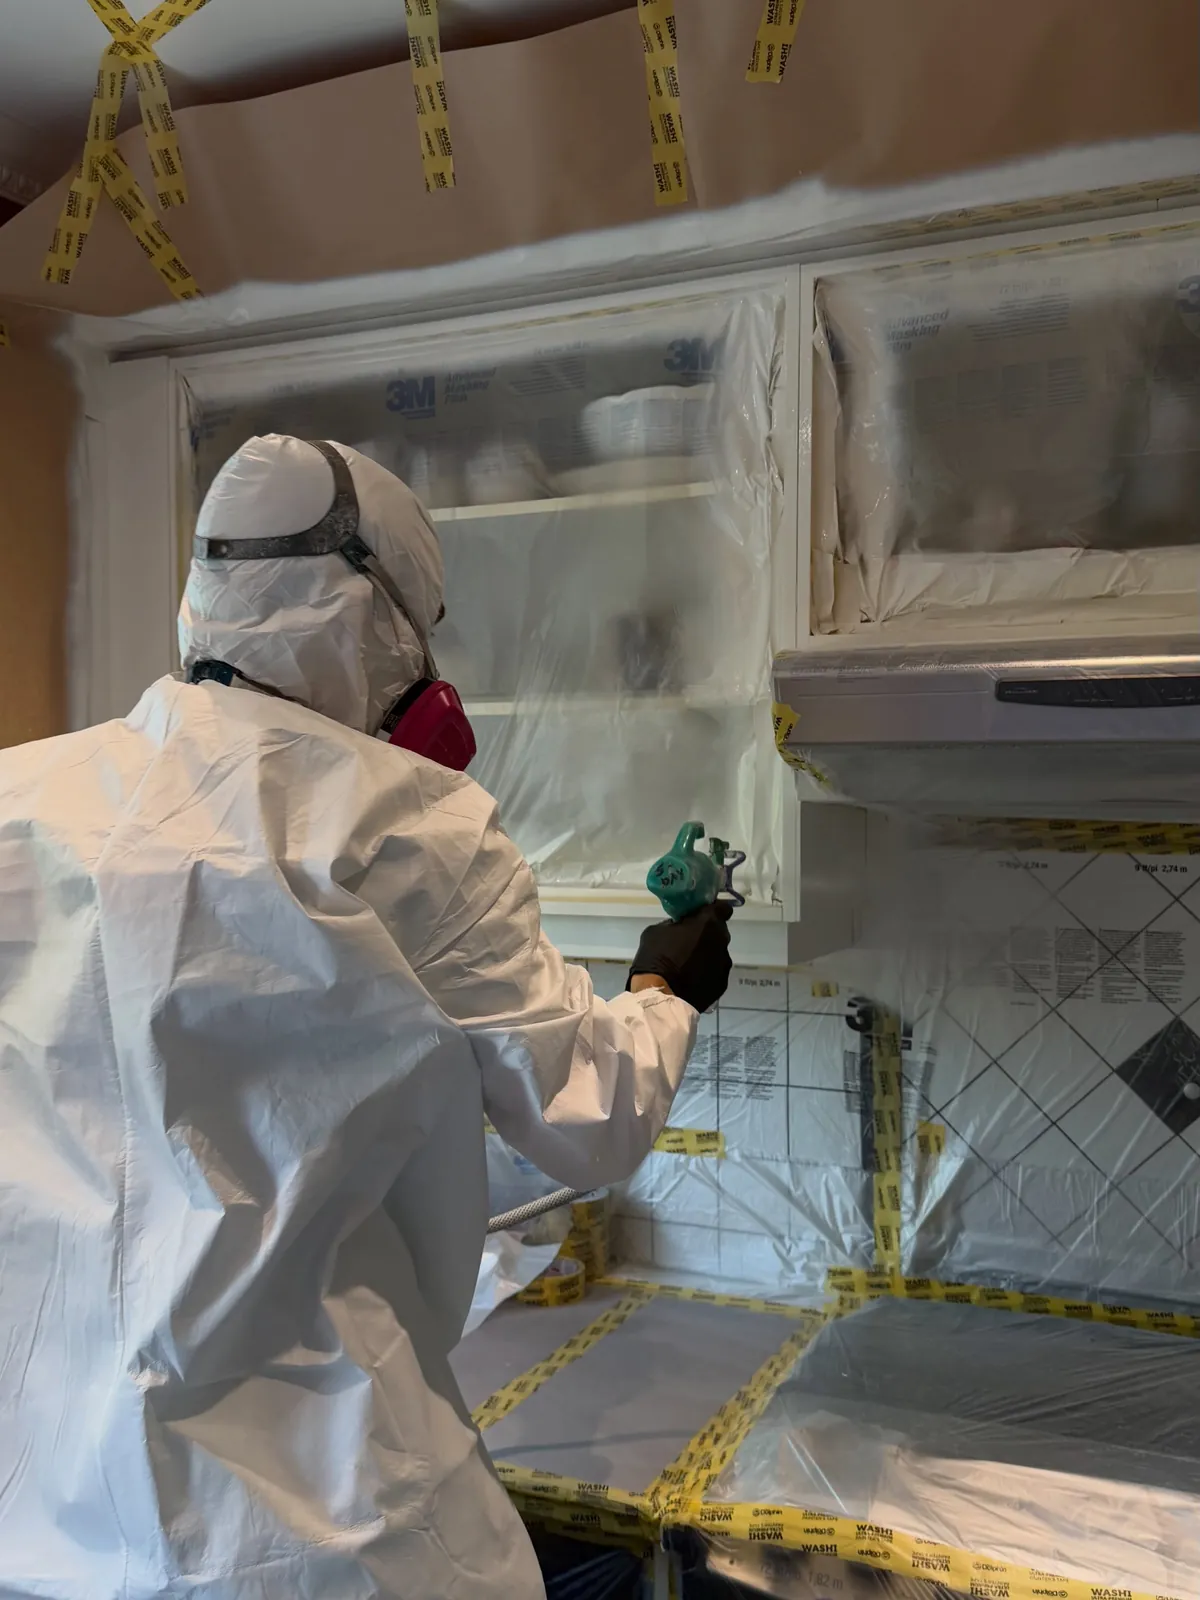
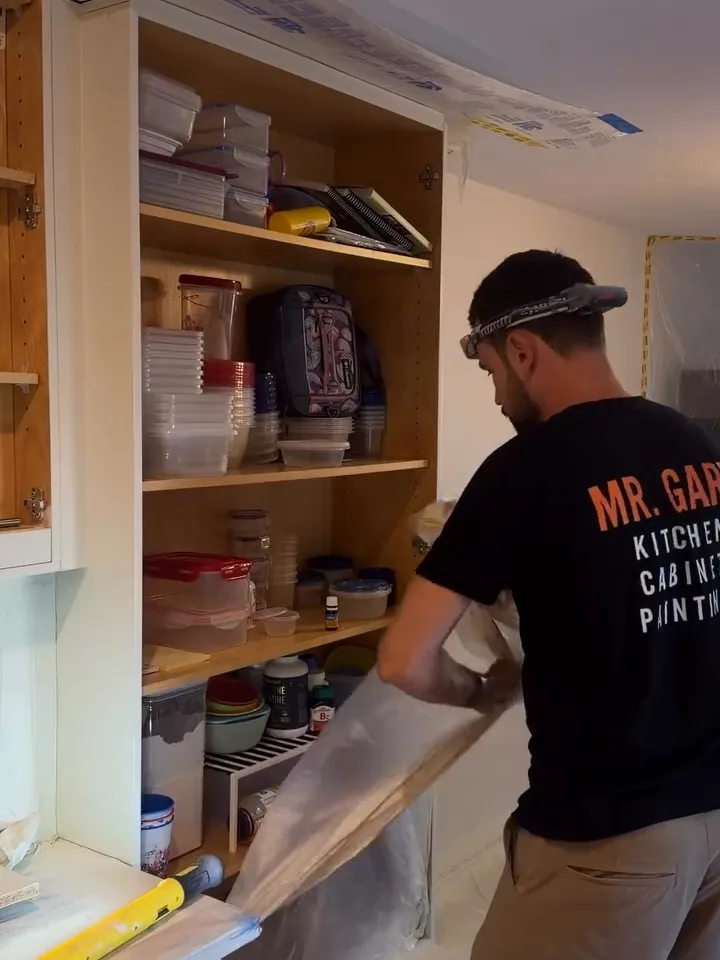
In the videos you can see it plainly: jars, cereal boxes, stacks of food containers on the shelves while I tape the film across the front. The doors come off; what is behind them stays put.
02
How a box gets sealed
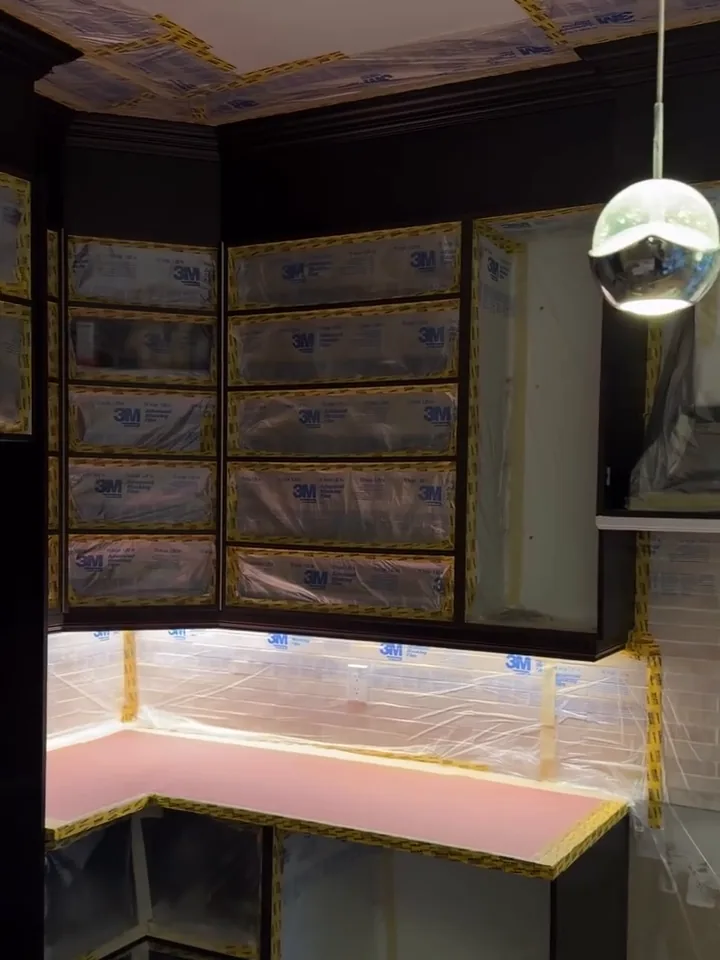
Once the doors and drawer fronts are off, each box is an open frame. I tape around the opening and stretch 3M plastic film across it, taped down on all four sides. The shelves, the contents and the inside walls of the box are closed off behind it. The face of the cabinet around the opening stays uncovered, because it gets sanded, primed and sprayed with the rest.
In Kirkland in September my caption was simply “Protecting every cabinet box with 3M plastic before spraying,” and that is the rule on every job. Vanity boxes get the same treatment when a bathroom vanity is part of the project.
03
Everything around the boxes
The boxes are one part of the masking. On a typical first day, this is what gets covered, from what I have posted on past jobs:
- Floors and countertops, before anything else.
- The stove, the dishwasher and the range hood, each wrapped in 3M plastic.
- The sink and the faucet.
- The ceiling above the cabinets, where the spray could reach it.
- A spray barrier with ZipWall poles, separating the kitchen from the rest of the home.
- A spray booth for the doors, built in the kitchen, to contain overspray and control paint fumes.
04
Why the inside stays closed all week
Sanding makes fine dust, primer and colour are sprayed, and both travel. A sealed box is the only way to keep your dishes and food clean while the frames around them are sanded and sprayed. My caption from Westmount says it: masking “keeps the kitchen clean, protects the inside of the cabinets, and helps create a professional factory-style finish.”
Because the boxes stay sealed from the first day to the last, it helps to set aside the few things you reach for every day before I start: the coffee, a pan, whatever you will need during the week. Everything else can wait behind the film.
05
Small kitchens too
People with a small kitchen sometimes assume there is no room for all this. There is. In July I posted: “Even in a small kitchen, I can organize a complete refinishing setup — spray booth, drying racks, protection, and everything needed for a professional factory-style finish.”
The order stays the same whatever the size: cover the floors and counters, seal the boxes with your things inside, put up the barrier, then build the booth for the doors. A small kitchen simply has fewer boxes to seal, and the rest of the home stays on the other side of the barrier all week.
06
The last day
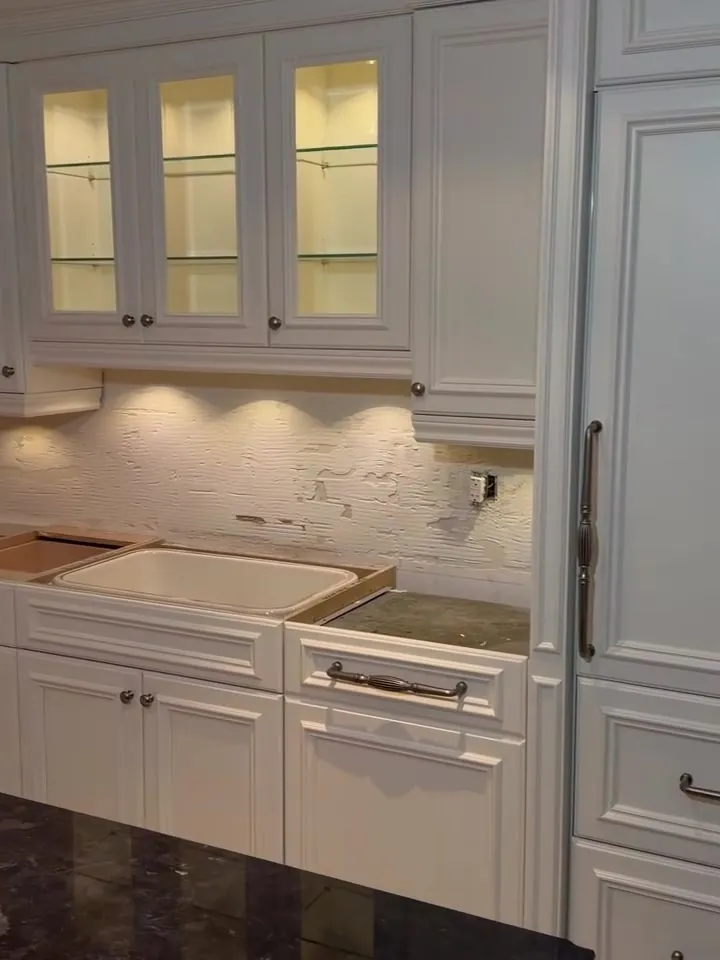
On the final day the masking comes off before the doors go back on. In Dorval I posted it as it happened: “Removing the masking before reinstalling the cabinet doors.” The film is pulled, the tape comes away from the frames, and the shelves are just as you left them.
Then the doors and drawer fronts are reinstalled, each one in its own opening. That part has its own story in why every door gets a label. The whole week, day by day, is in the 5-day guide.