01
Same kitchen, new colour
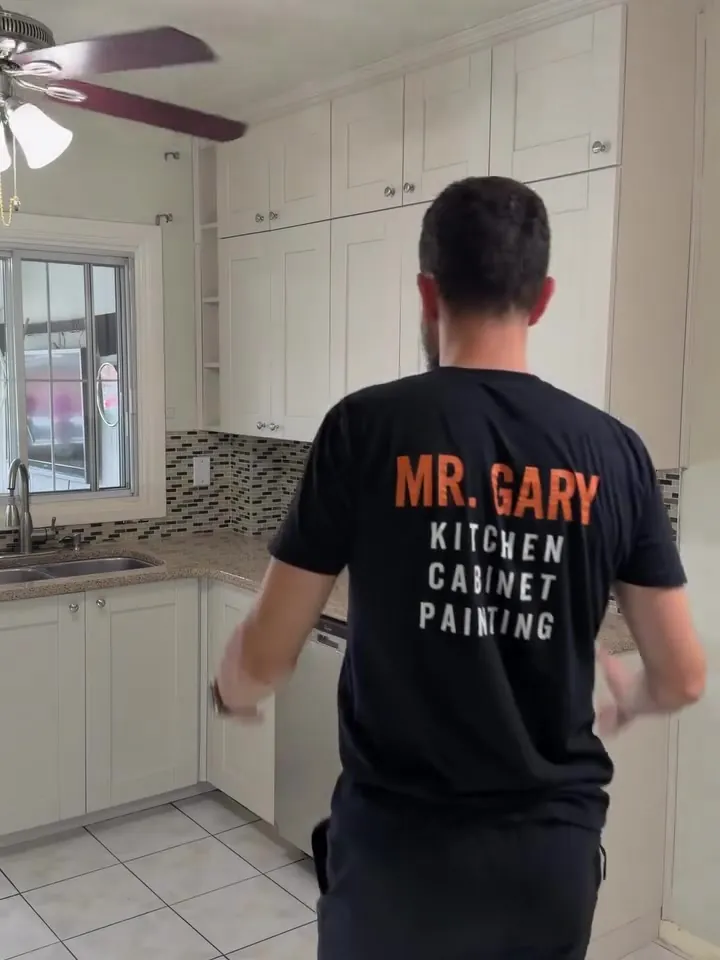
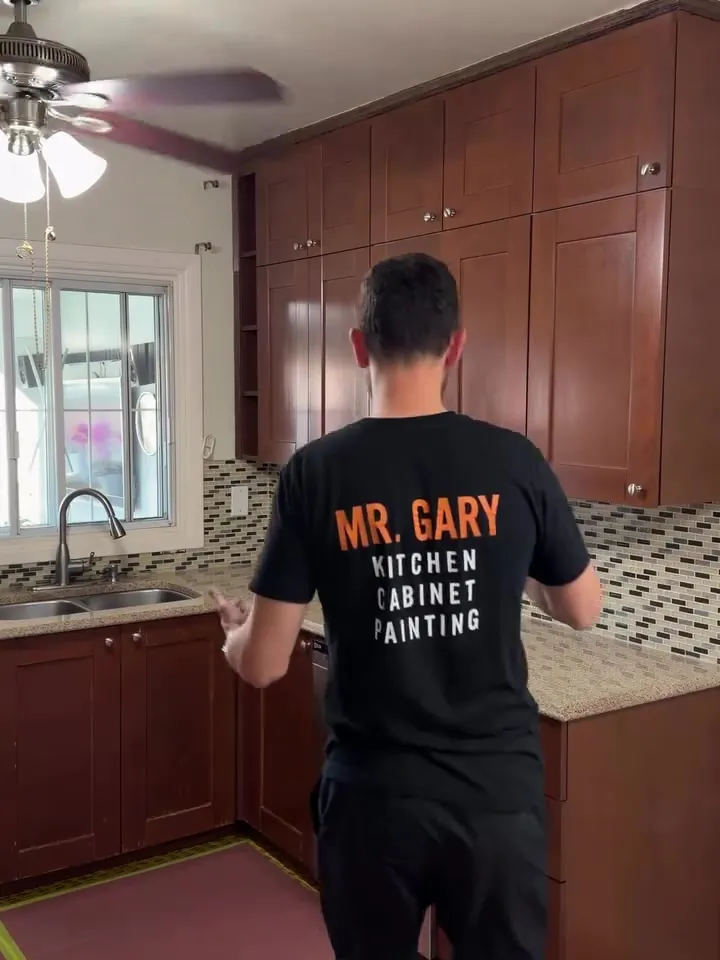
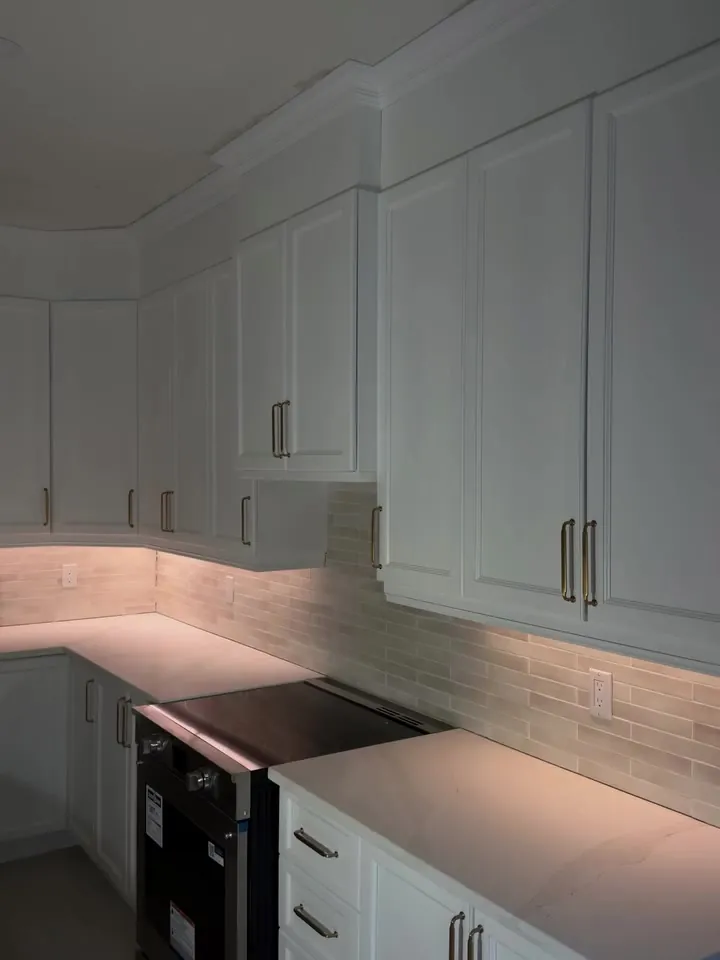
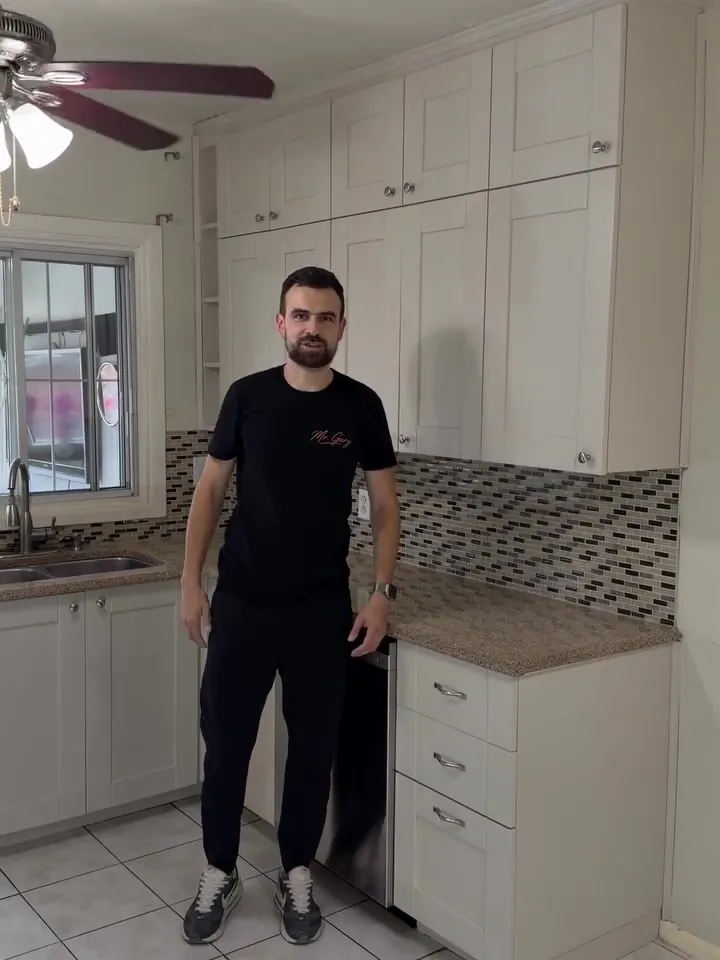
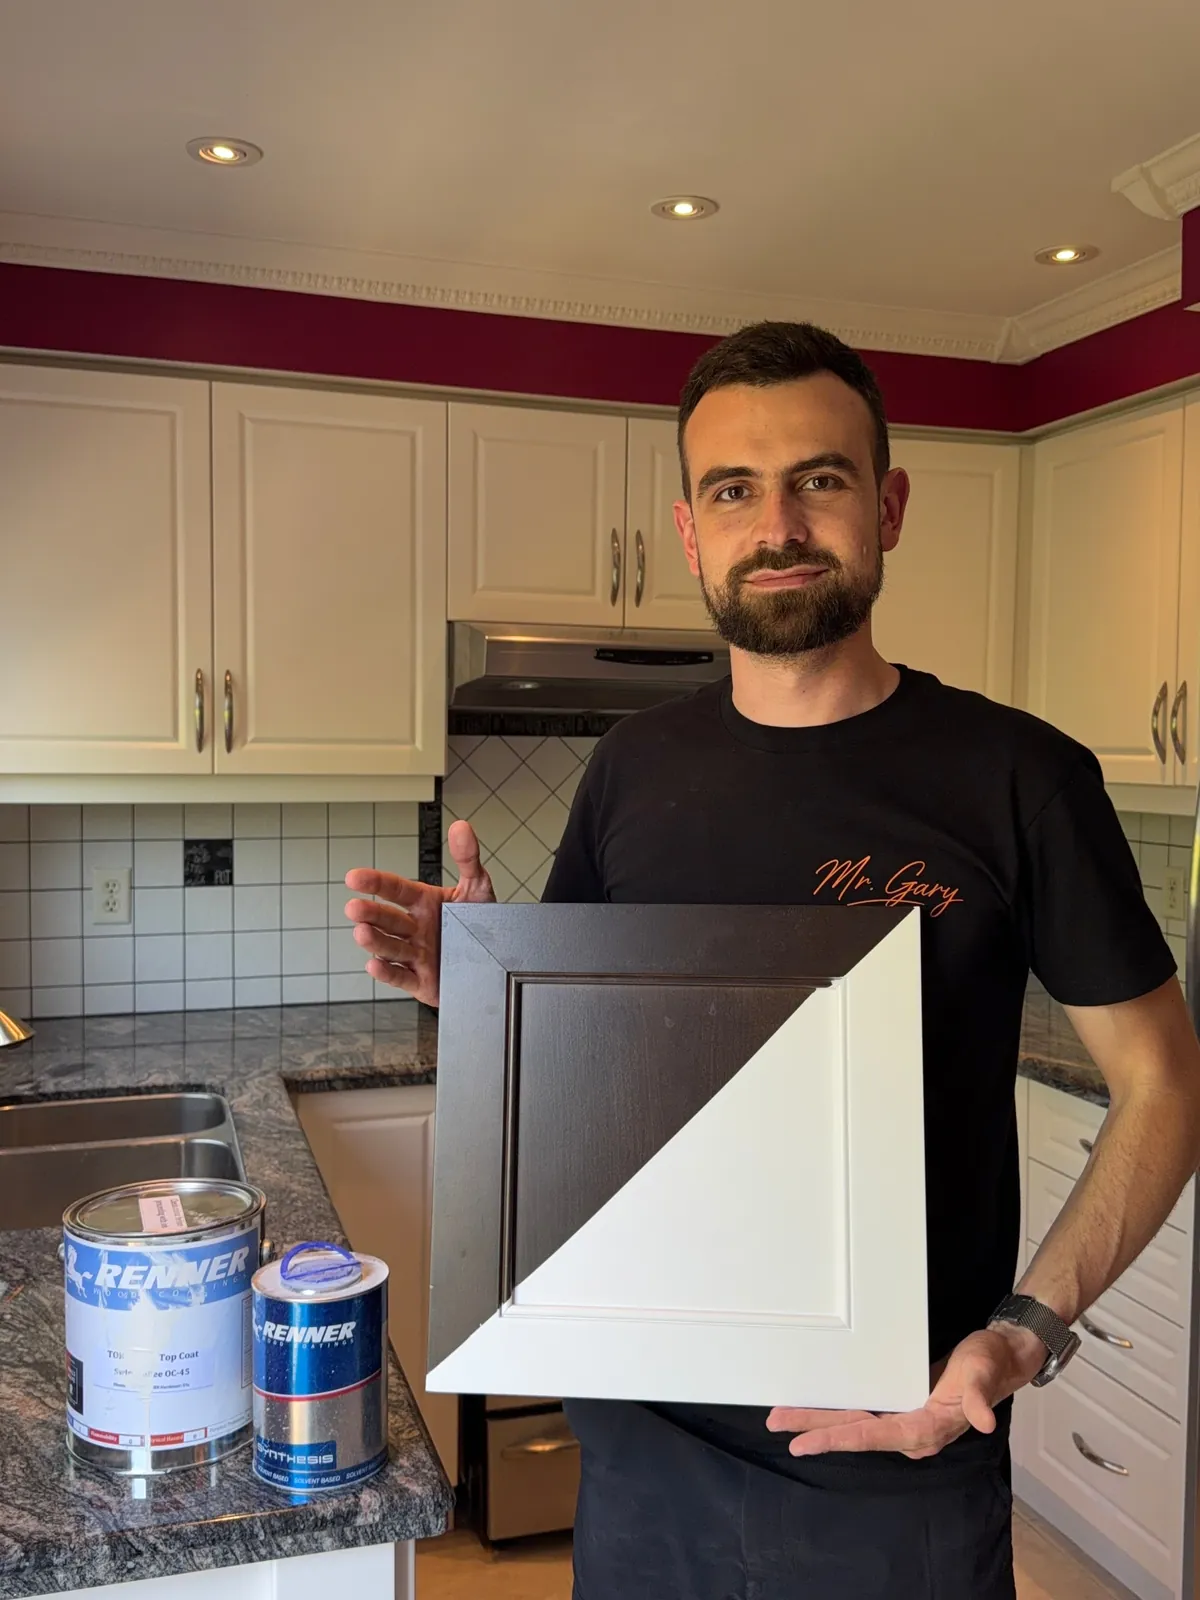
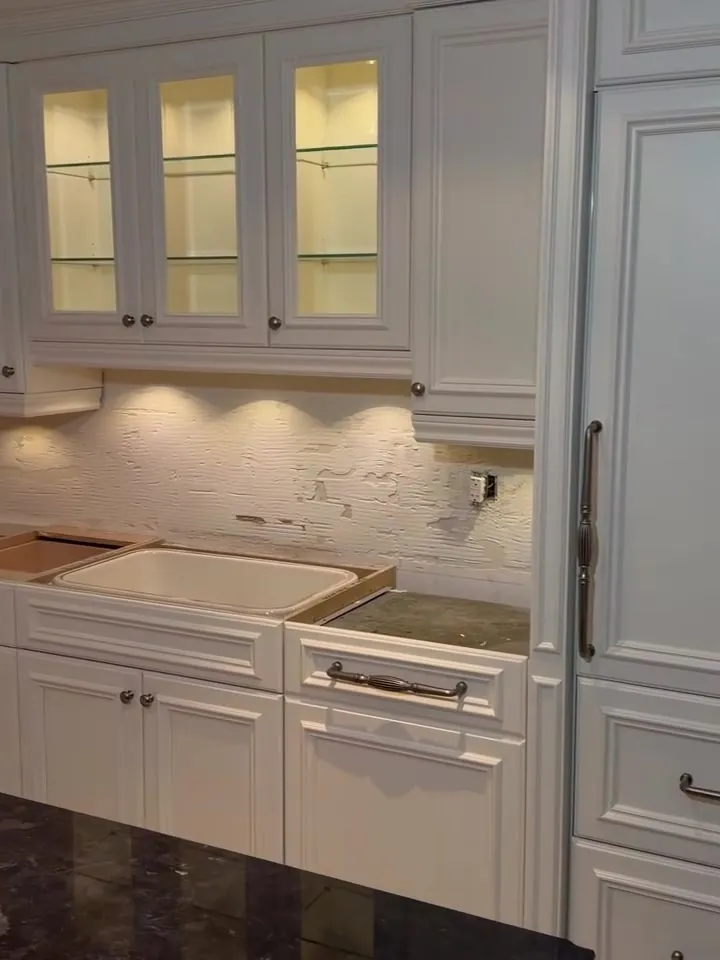
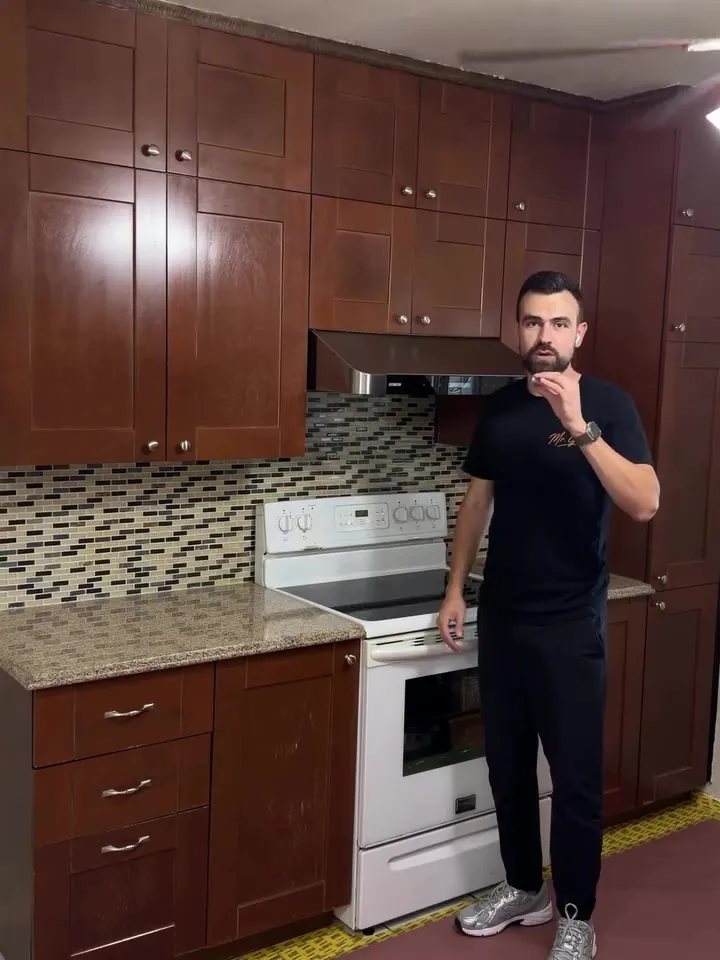
Shaker doors are a good candidate for paint: flat panels, clean frames, simple lines. This kitchen had them in a red-brown finish that fought with the mosaic backsplash. White shaker lets the backsplash be the only pattern in the room.
I filmed the doors up close before and after, and the two videos side by side show the change better than any wide shot.
02
Extra prep where it was needed
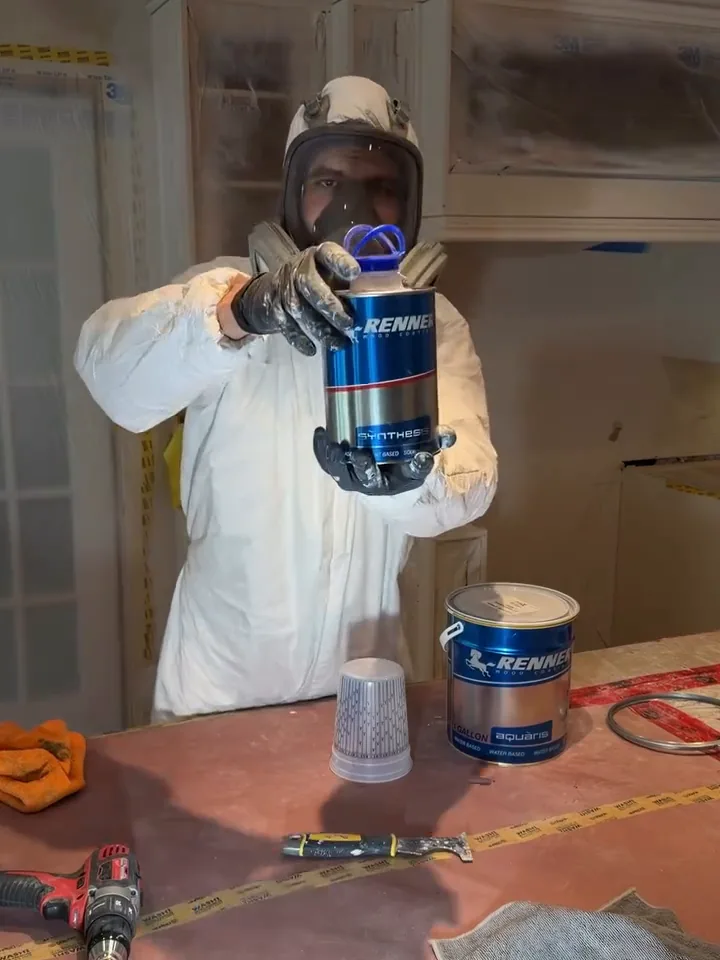
On day two I wrote: “Sometimes, cabinet doors require more detailed preparation before painting.” Some doors here needed more work than others, and that time goes in before any primer. The same day I posted: “Every cabinet door passes through my hands, ensuring quality, consistency, and better value for my clients.”
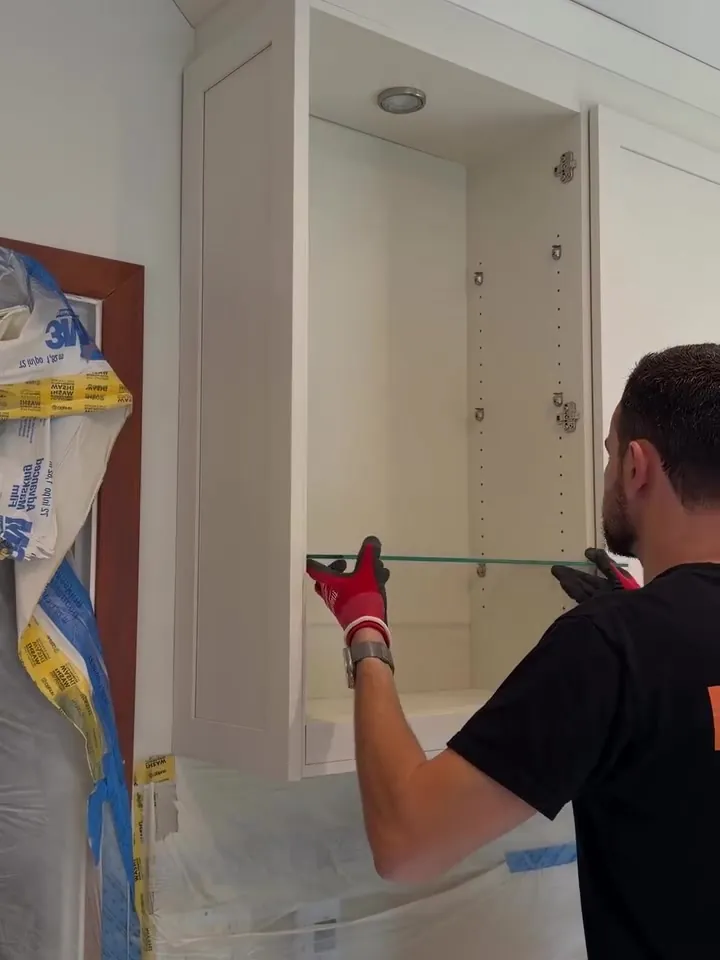
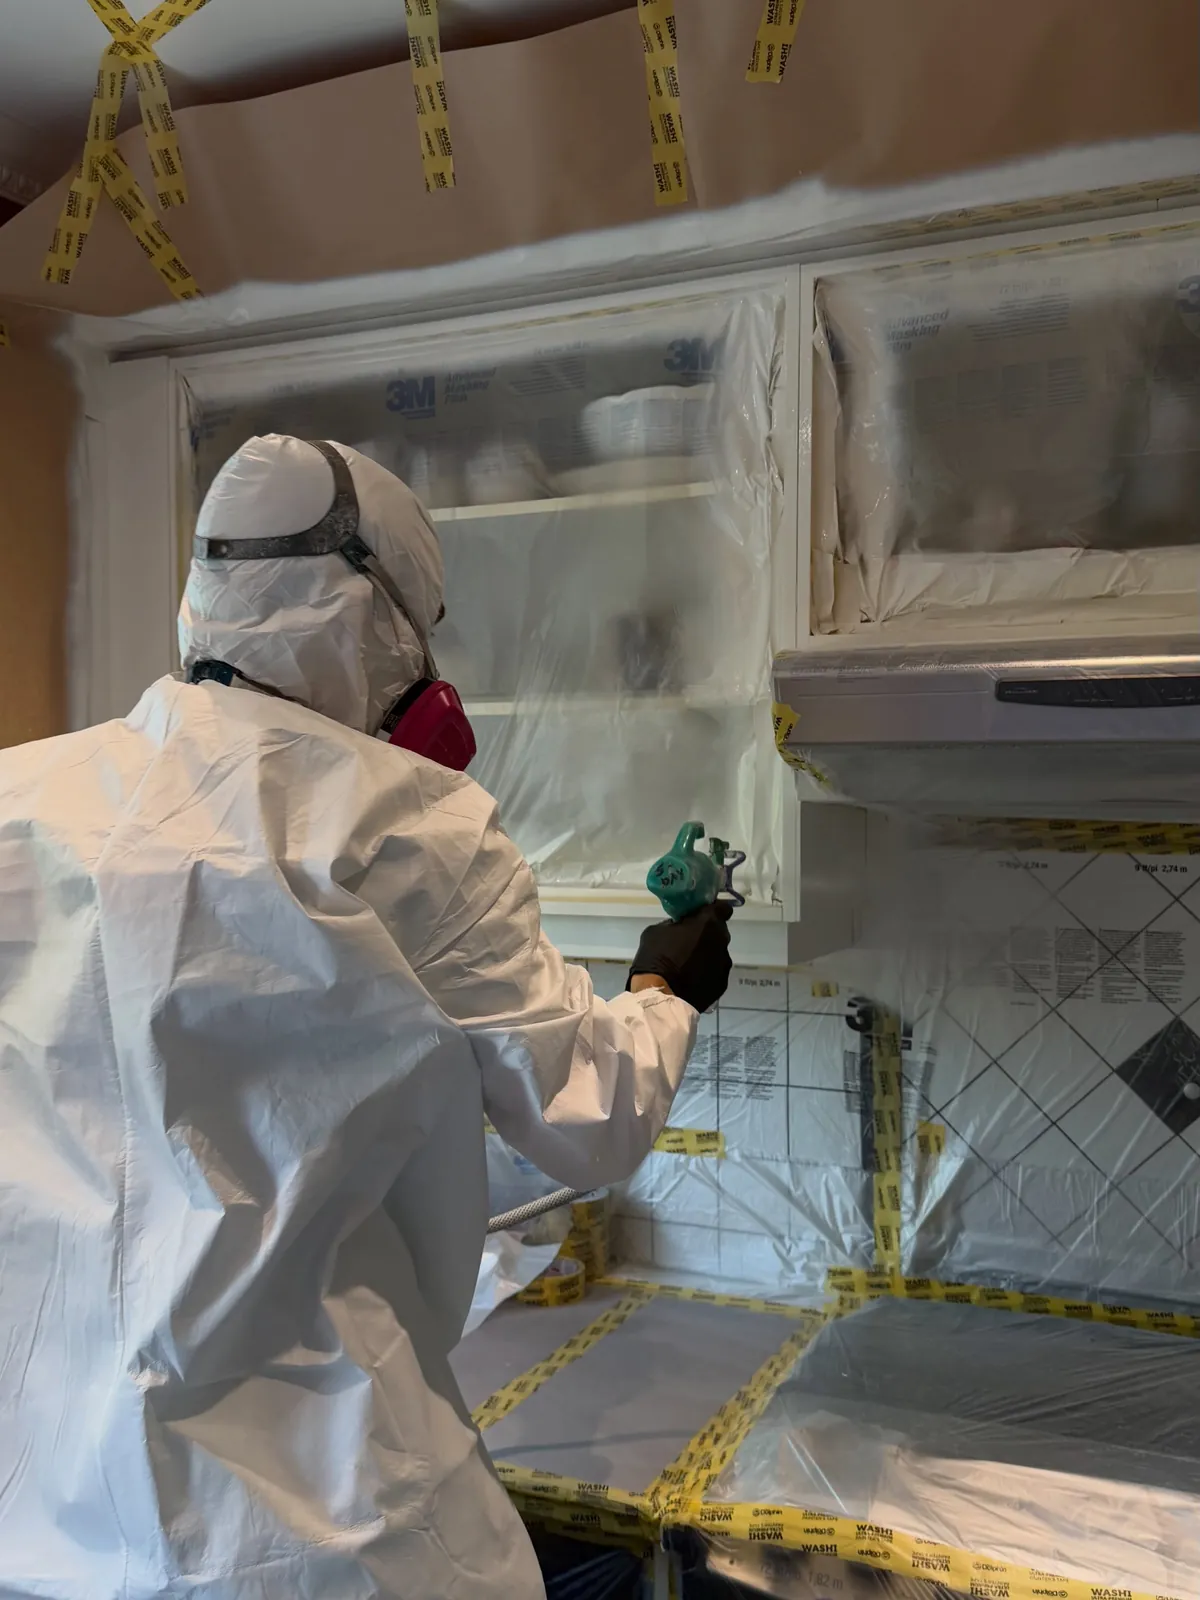
On July 29 I showed how I protect the cabinet boxes and open shelves, and on July 30 the first coat of primer went on.
03
Inspection before the last coat
July 31 was the long day: sanding before the final coat, an inspection of every door, small imperfections fixed, then the first coat of colour and the final coat. The caption put it simply: “Before applying the final finish, I carefully inspect every cabinet door and fix any small imperfections.”
That check is what separates a finish that looks sprayed in a shop from one that looks painted at home. Once the colour is on, every flaw underneath shows.
04
See it before and after
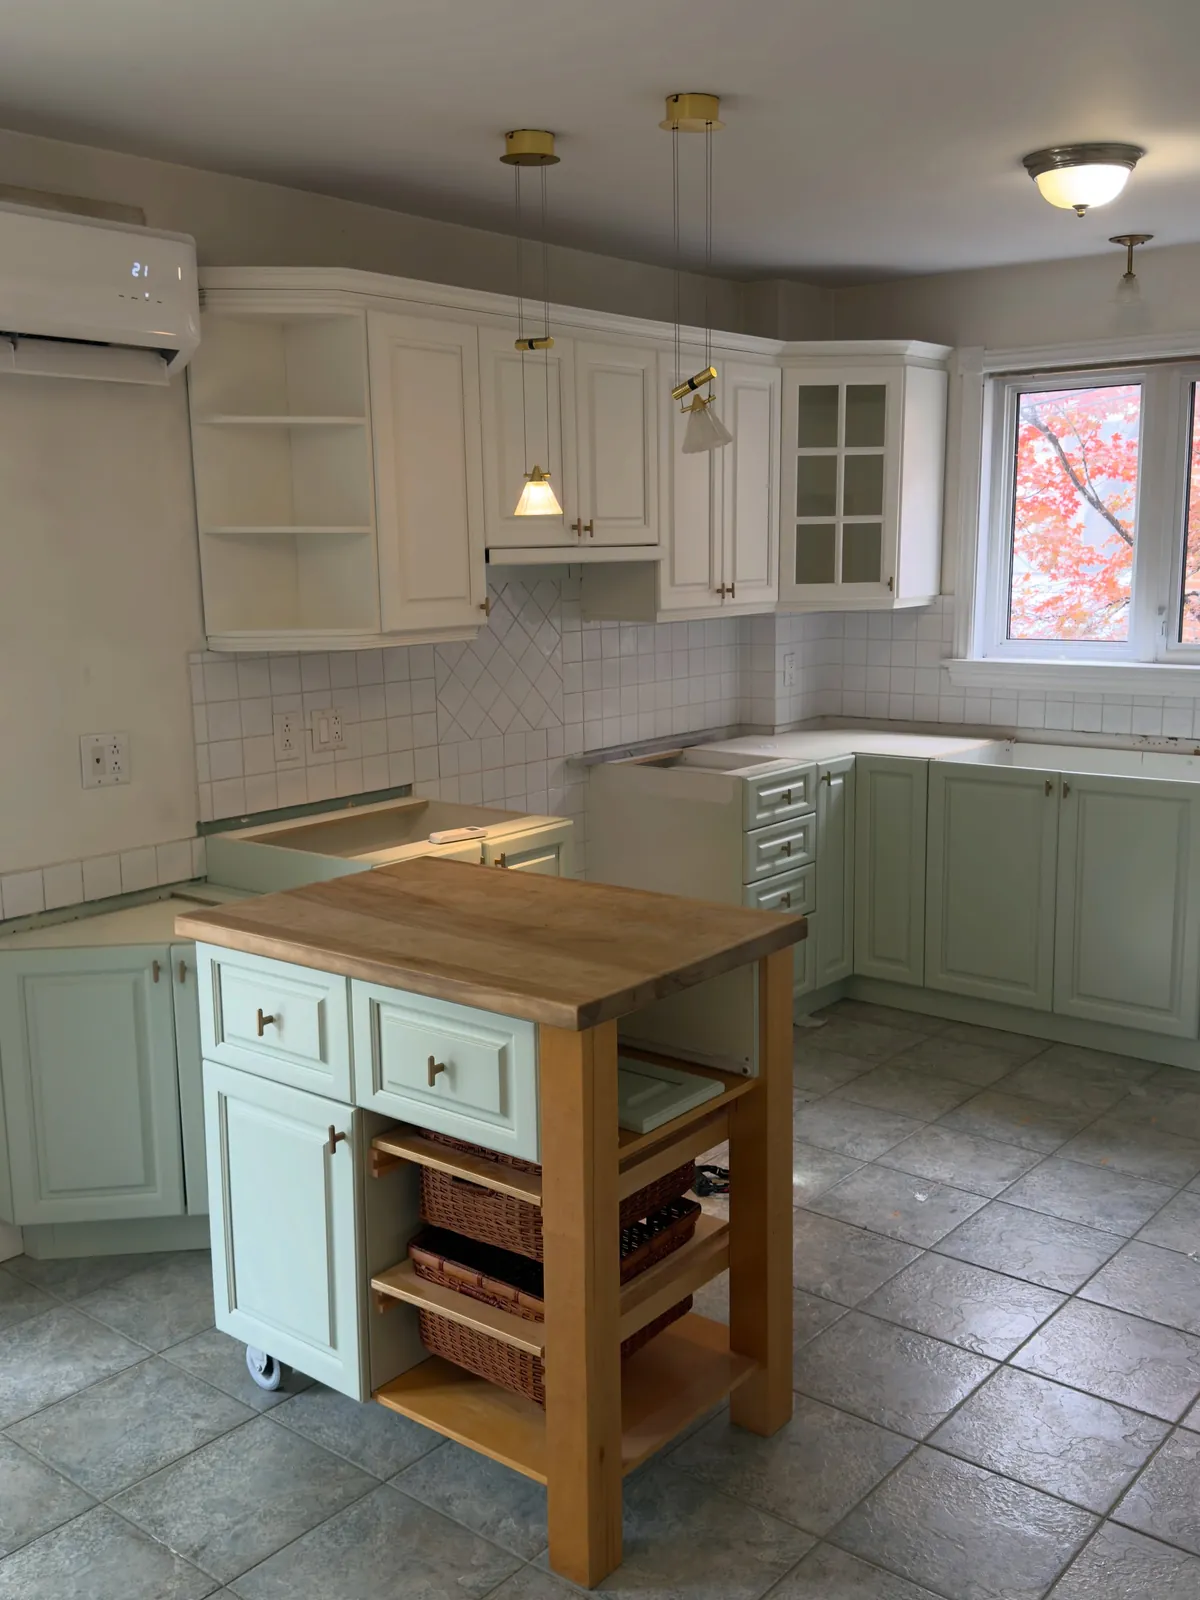
The comparisons, videos and the full timeline are on the project page. For what each day of a job looks like in your kitchen, read the 5-day guide.